
I hope everyone had a wonderful time with family and ate plenty of turkey during the Thanksgiving holiday. I can't believe that 2012 is almost gone. What a great year this has been! I have made a lot of new blogging friends and started adding my patterns to my blog.So much fun!! I have had a few people email me and ask why don't I just sell my patterns or the finished product. I love creating these patterns and because it brings me such joy I couldn't imagine selling them. I realize that during these cash strapped times not everyone has the means to purchase something fun. By offering my patterns for free I hope that everyone is able to enjoy them without the burden of paying for them (and plus I love free stuff!). As for buying the finished product, if you are interested just email me and maybe we can work out something. Right now I am not offering them on etsy, but maybe in the future :)
Here's a little guy that represents the almost old year- 2012. Some people refer to him as Father Time, Father Old Year, Old Man Time or Old Father Time. I like Father Old Year even though I tend to call him Father Time. I do know that Father Time carries a sickle and I couldn't let my fun little character carry such an ominous object, so he carries a banner/flag instead. The year on the banner is starting to fade and the banner is worn out/distressed and the pole is bent and warped.


The pattern for his body is the same as baby new year's (this pattern is below).
1. Cut all shapes out of felt except for the 2012 banner and the clock.
2. Sew body, leaving neck open and stuff.
3. Sew arms and legs, stuff.
4. Sew center seam on face and center seam on head back.
5. Using beard as a guide, place checks onto face. Use dot of glue and glue cheeks on, when dry stitch cheeks onto face.
6. Now you can glue eyes, nose and eyebrows on.
7. Stitch face front to head back, stuffing as you go. Sew shut.
8. For beard, button hole stitch raw edges that will not be stitched. Look at picture to figure out where raw edges will be. You can skip this step #8 and leave the edges raw, this looks cute too!
9. Using a very tiny amount of glue, glue beard in place.
10. Using a very tiny amount of glue, glue back hair in place.
11. Where beard and back hair touch, stitch to each other. **Be careful to not stitch Father O.Y's left side of beard down too far or it will interfere with the head placement on the shoulders (again, look at picture).
12. Sew arms and legs to body.
13. Sew one side of robe and place on body and then sew the other side.
14. You may have to clip neck on robe down a little more to get the placement of the head on shoulders correctly. Glue head on shoulders, pin to hold while glue dries.
15. Add twine as a belt.
16. Glue sandal straps onto feet, let dry. Glue sole of sandals onto bottom of feet.
17. Paint box. I tried not to add too many embellishments because the old year is fading and not much pomp and circumstance is going on. I painted a few clock with the time 11:55am and a calendar with Dec. 31st showing. I added a couple of whitish swirls and a few white dots and glitter to the top. Mod podge the whole thing. Glue F.O.Y on to the lid. *If F. O. Y moves a little after the glue is dry you may need to add a little more glue to his sandals to make him stand upright.
18. The flag is white paper with the year 2012 painted on. This allowed me to fade the year by using black, gray and then a very faint gray paint. I crumpled the flag and then inked it lightly. You could even lightly sand the banner to get it more distressed. Glued it onto thin floral wire that had distressing ink applied to it. I then bent the wire and added a black bead to the top. Glue flag to his hand.
19. The clock that F.O.Y is carrying is made from paper clay. Before the clay dries add a U shaped piece of wire for the hanger. Let it dry and then paint it. Add a piece of chain and sew to hand.
He is finished. A lot of pictures have him wearing a brown robe, but I thought that he looked like a monk with the brown robe. I also think he would make a great Noah as in Noah and the Ark. Hmmmm....something for the future.


Happy New Year!!! I know that it is not time yet, but it's never too early to start right?
Here's Baby New Year 2013!

Same body instructions as above. His top hat is made just like the Snowman's a couple of posts back. With one exception, he has a silver pipe cleaner instead of ribbon.

Tiny balls made out of pipe cleaner scraps decorate the box. I did use glitter on the side of the lid. I mod podged vintage silver wedding wrapping paper to the top of the lid. Add a pipe cleaner to the edge of the lid for extra sparkle.
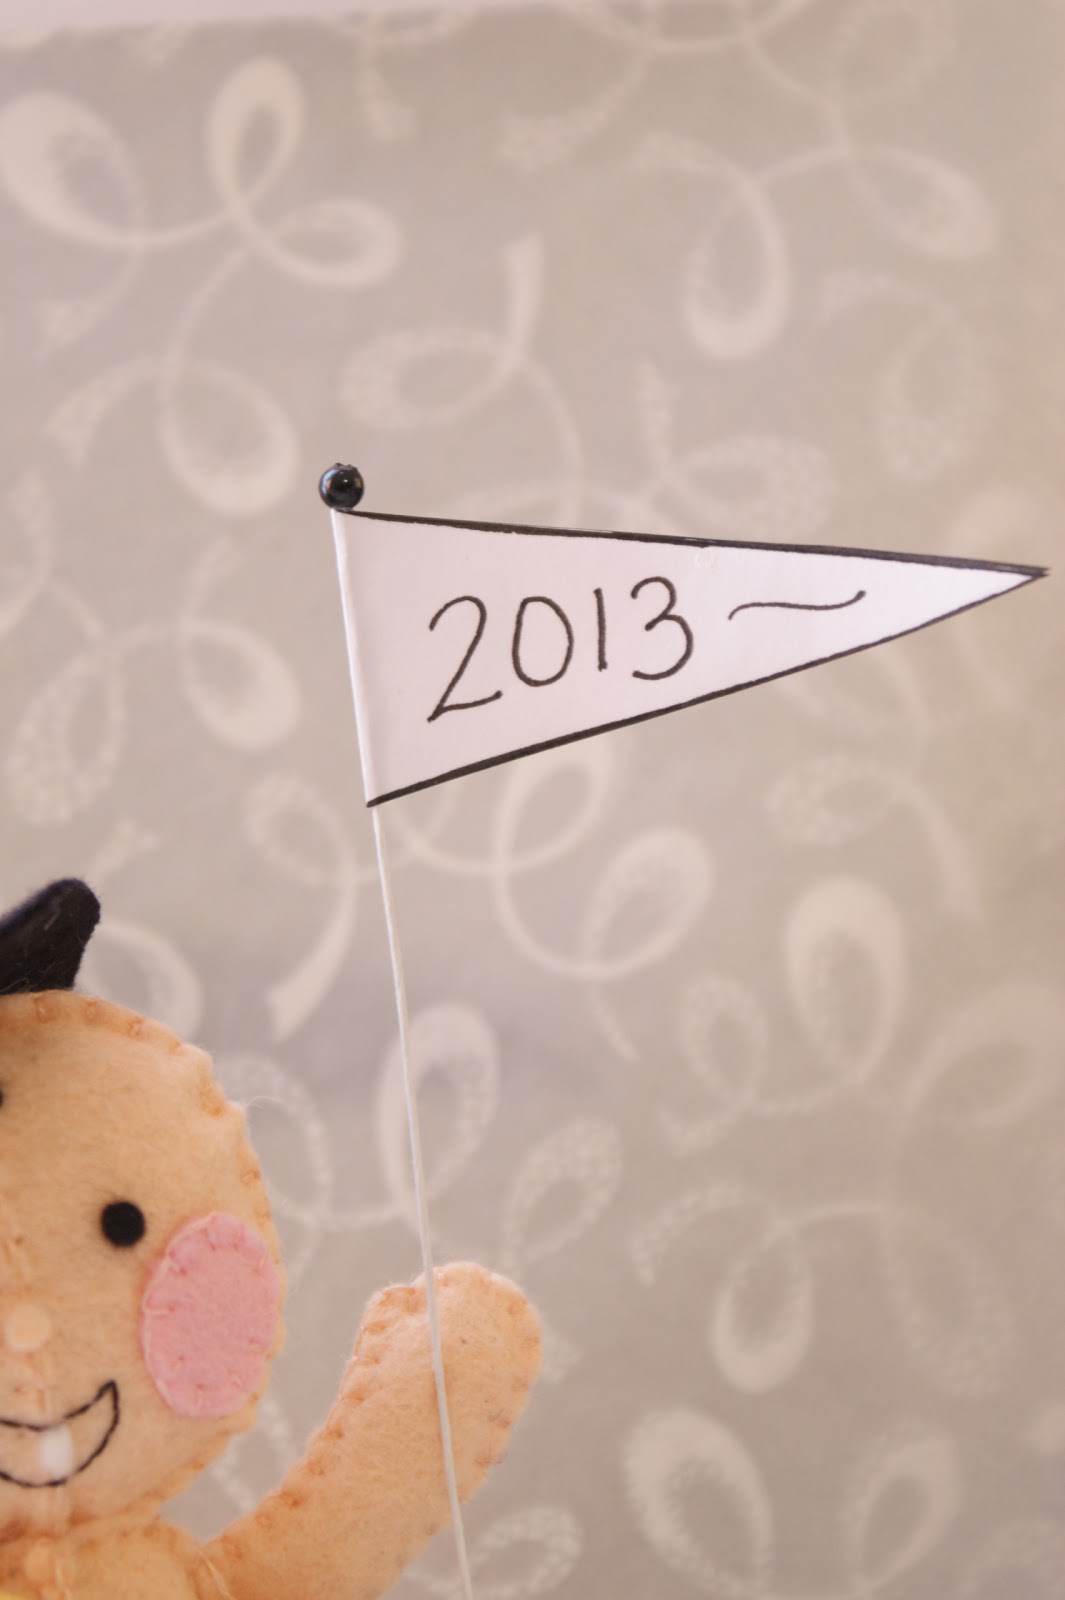
Brand new shiny flag!

His diaper may look a little funny but this was what worked. Glue helps out a lot during this step. I did use some tiny black safety pins. His mouth and hair are embroidered on and his tooth is glued on.
His Happy New Year sash is made out of a 1/2" x 8" piece of felt. The words are stamped on using letter stamps and ink. This was much easier than hand stitching the words on.
His horn is made from paper with the edge painted red and fringed and the tip painted black.
Glue him to the lid. Cut a small opening in his hat to glue it to his head. Glue his horn, flag and sash on.
He is all finished now!!

I hope that you add them to your list of crafts to make! Let me know if you make them, I would love to see. If you have any questions, please don't hesitate to ask :)
Have a wonderful day and keep those fingers busy!
Holly
Holly these two are a hoot! The fading 2012 banner....genious touch! You r amazing! I love them! Have a great day!
ReplyDeleteHey Patti, so glad that you stopped by! Thank you so much for your sweet comments. I had a blast designing them! Have a wonderful night, Holly
DeleteHow cute! These are so original! I love them!
ReplyDeleteHey Diane,
DeleteThank you and thank you for stopping by. It was interesting to try and come up with some Happy New Year theme crafts :) I hope you try your hand at them. Have a great night, Holly
What a happy pair. Those are the cutest little critters! If I did hand sewing I'd be tickled pink to have your patterns! You are very kind to share the how-tos!
ReplyDeleteHey Tammy, Thank you so much! You could easily make them into a "paper doll" of sorts by either cutting a flat pattern out of felt and gluing the pieces or use paper. I think they would turn out adorable. Hand sewing is really not hard, but it can be overwhelming when you are just starting out. Happy crafting and have a great night, Holly
DeleteBeautiful as always!!
ReplyDeleteChris =]
Thank you so much, Chris! I am so glad that you stopped by. Your comments make me smile! Have a wonderful day! Holly
DeleteOh! I didn't notice the fading banner. It's wonderful! Father Time's box is so cute! Love everything you make! E
ReplyDeleteHey Elizabeth, Thank you so much! It was your encouragement that pumped me up to finish them. I didn't think that anyone would want to make New Year crafts but I really wanted to finish them :) and I am so glad that I did. They were alot of fun! Have a wonderful, crafty day! Holly
Delete