Showing posts with label needle felting. Show all posts

Tuesday, August 9, 2011

Needle and Thread

Update: I am still having trouble leaving a comment on blogger and I know that some of you can't leave a comment on mine. Sorry. Not sure why. I have emailed them and let them know of the problem. They do have a page on their website for trouble shooting. I will have to see if I can some how fix it.

Meanwhile, look at this awesome quilt! It is a Bee In My Bonnet (Lori Holt) pattern called Paper Dolls. It is so adorable. It reminds me a little of the American Dolls Historical series from the 1930s/1940s. This will definitely be a future project. I have purchased a pattern of hers called Remembering Grandma's Aprons. I can't wait to start on that one.
Above: Very cute quilt. Look at the detail! Sure wish I could take her class on it. Lori Holt offers it as a block of the month.

I just finished up some custom order mice for a wonderful lady with an amazing imagination.
Here's the mice.

Above: They are the Four Seasons: Spring (yellow) Summer (red), Fall (orange) and Winter (lt blue).
They were so fun to make and design. The customer had a wonderful idea. She came up with the four seasons theme and I had a blast designing them. They are now on their way to Ohio, along with their sweet little pet. I will show the pet at a later date, as soon as they reach their destination. The pet is a surprise thank you.
We have been busy getting ready for school to start. We had a meeting for D#2's school tonight. We are so excited that she will be starting Kindergarten soon. I can't believe that she is that big! They grow up so fast. D#1 will be moving into her dorm on the 20th of this month. She is so excited! We are excited and a little sad (shhhh....don't tell her) that she is starting this wonderful new chapter in her life.
I will share pictures of her campus after we get her settled in.
That's all I have for tonight, so I'll sign off and say "Goodnight",
Holly

Tuesday, June 28, 2011

Whatcha' Working On

June has just flown by!! I can't believe that July 4th is next week. The garden is growing nicely. We have picked a few tomatoes, jalapenos, bell pepper and one squash. We ate the squash in a salad last night. Tonight we are having pasta salad and crusty bread for supper. I am going to add a couple of cherry tomatoes from the garden to it. I will post the recipe tomorrow, if it gets the thumbs up tonight.

Just a few crafty things to post. Mainly a "whatcha been working on" kind of post. Most of them are on Etsy now.


Woolly Bear Caterpillar.


Little felted mouse with her woolly bear pet.


Above: Taking Woolly Bear out for a stroll.


Above: new pedestal pincushion. Made out of 100% wool.
Needle/Scissor fob

Above: I stitched designs around the pincushion. Mouse, kitty and house. Kitty is flying a kite. The two hand sculpted pins were a blast to design. The cheese was especially fun. Poking the holes in it to get Swiss cheese.
 

Above: scissor fob. See how handy the needles stay, right by your scissors. The red thread keeps them looped to your scissors, so that when you are sewing in a crowd and someone has scissors just like yours, you can tell them apart. All of the stitching on the pincushion and fob was hand stitched, using various stitching methods.
I will be back tomorrow with some more. My computer is very slow tonight, taking forever to upload the pictures.
goodnight,
Holly

Tuesday, April 5, 2011

School Mouse

Little School Mouse is now listed on Etsy. Go and take a peek. I finally finished her books and apple.
Above: Oh no....a little worm is tagging along to school.

Above: zoom in and see the little eyes and mouth. He is tiny 1/4" long. He reminds me of Wormy, Oscar the Grouch's worm. His was orange though.

Above: Little books. They are glued together, but the pages really did turn. I also glued the book strap on, I was afraid that it would get lost.

Above: She can also hold the books by the book strap.
Thanks for looking and may your day be filled with lots of sunshine!!
Holly

Saturday, April 2, 2011

School Days, Golden Rule Days

My grandfather use to sing that song to us every time we would go and visit him during the summer. I couldn't stand for him to sing it, because that song was just a reminder that our time with them would be coming to an end soon and we would be traveling back home to start another year of school. The next mouse that I wanted to make was a little girl mouse going to school all dressed in her school uniform. Her head is needle felted from 100% wool fiber. Her arms, legs and body are made from wrapped wire.
Her skirt is black and white checked cotton fabric. Her blouse has a collar but it is hard to see. The little jacket is made out of 100% wool fabric with tiny pearl beads as buttons. She is wearing a headband/bow on her head. Her head is smaller than my normal mice. I am going to make her some books before I list her on Etsy. I thought that 2 tiny books would look so cute. Maybe an apple in her hand for the teacher?

 Above: On the right is Patrick Gnome, see how big his head is. On the left is....not sure what her name is yet, but for now I will call her little school girl. I made her jacket from some 100% wool fabric. This fabric made for a very realistic looking jacket. I really like how it turned out. You can't see the little felt collar that I made for her, but it is there. She is wearing little Mary Jane's on her feet with white stockings.


Above: clothes need straighting up, I had just finished her headband so I had messed her up a little.


Above: side view
Above: These are two commissioned tooth keeper dolls. They are for sisters. Their dresses will be a lavender check. I can't wait to finish them-the whole process of making these dolls is so much fun! I love designing them and seeing the finished product.
Have an AWESOME weekend and remember to keep those crafty fingers busy!
Holly

Tuesday, March 29, 2011

Hear Ye, Hear Ye...Merry Men & Women Ahead

Update: Robin Hood, Maid Marian and Rub-A-Dub-Dub have all been sold thanks to a wonderful Etsy customer!

Cupcakecutie asked me a question on my comment section back on the 18th and I just now found it. I am so sorry. So, I hope she is reading this. She wanted to know where I got my hedgehog and mushroom sewing pins that were on an previous post. I made them. I don't really sell the pins by themselves, usually only with the pincushion. I have an Etsy store: http://www.cottonpickinfun.etsy.com/ and my pincushions, clothespin dolls among other things are on there. I believe that I state in my Etsy "rules" that I don't ship internationally, but I will. I am just not sure how much to charge for shipping and have never shipped anything out of the United States, so it may take me more that my normal of shipping "within 48 hrs of receiving payment". If you can bear with my slowness (aka ignorance) then by all means, convo me on Etsy and maybe we can make it work. So sorry Cupcakecutie (btw: love the name).

Today I am going to show you Robin Hood's better half. No....not Little John. Maid Marian. I wanted very much to put a diamond on her "hand", because you know that Robin Hood popped the question and he must have used some of the spoils for an engagement ring. Well, maybe I will, the diamond could easily be taken off if someone didn't want it. It would be so cute:)

I had a hard time designing her dress. I really wasn't sure what I wanted it to look like, but I knew the princess cone would have lace coming out of it. That just exudes Fair Maiden. The color was really hard. Pink is a princess color, so technically she could be a princess instead of Maid Marian. That would be really cute, but I like her with Robin Hood. They look so sweet together. I hand embroidered her dress and everything else is hand stitched, also.

Above: Maid Marian

Above: embroidered accents and pearl accents.

Above: Lost in the Sherwood Forest?

Above: No...here's her hero.

Above: stopping to say "hello" to Patrick Gnome.

Above: Rub-A-Dub-Dub...two mice in a tub. The two towels are real and the bar of soap is clay. The little towel in fluffy brother's paws is also real.

Above: sweet little brothers have just finished their bath. One already has a towel dried head and he looks surprised at his "do".

Above:Must haves at bath time: Mr. Bubble and rubber ducky. I knew that I wanted to make Mr. Bubble container for the mice but didn't know what else to make. Because I love to send two sewing pins with my pincushions, I had to put on my thinking cap. I thought about a toothbrush, hair bush, a bubble, bar of soap, etc. When I asked D#2, she immediately said "A rubber ducky, of course!"  That is one clever kid, I hadn't even thought of that. She was very impressed with this mini ducky. It is 3/4" by (a hair taller than) 1/2". Mr.Bubble is about the same.
The brothers are tiny too-small non fluffy one 1"x1", actually that is the size of what you can see. The fluffy brother is 1 1/4" x 1 1/4". Both mice are fully "bodied", meaning they have legs and feet and are fully "furred". I didn't put a tail on them because it seemed to really get in the way of the pincushion bath water. The teacup is an antique one. It is one of my favorites. I love the detail on the cup. The cup and saucer are bonded together.

Thank you so much for looking,
Have a great night and I will get that flocking tut up soon. Dear hubby has to take my camera to work Thurs, so I had better get it done tomorrow,
Holly

Saturday, March 26, 2011

Robin Hood-A Mouse of a Tale

Here's the newest needle felted mouse- Robin Hood. Coming up with his outfit was a lot of fun. I found out that I don't know as much as I thought I did about Robin Hood's clothing. I did a little research and kind of came up of my own version. His hat was pretty much trial and error (I seem to say that a lot ;)  ). I made a couple that just didn't look right, finally success. I wanted to use a real feather in his hat and on the arrows, but I didn't have any red feathers. Pink feathers just won't do. Must be red feathers.
Above: Walking through Sherwood Forest.

Above: Bow is made from clay, "string" is actually thread.

Above: Quiver with arrows.


Above: Bow and arrows. Arrows made from toothpicks-new, not used.

Above: Quiver made from synthetic embossed leather.
Not sure what my next needle felted mouse will be, gotta do some brain stormin' :)
Have a great and crafty day!
Holly

Friday, March 18, 2011

Needle + Wool = Awesome Cuteness

Here's the newest needle felted mouse. The first and second heads that I made for her looked all wrong. They were either too big or not shaped right. The artist that designed and wrote the pattern for these mice is so sweet and helpful. I emailed her with several questions and she emailed right back! I was having trouble making the fibers cooperate. They were very wispy and all over her head. She sent me some helpful tips and they worked like a charm. If you are interested at all in needle felting you need to check her blog(http://www.outmorninggloryworkshop53barbyanderson.blogspot.com/ ) . I am not promoting her nor did I get any rewards or benefits from mentioning her on my blog, I just love her work! Like I stated in another post, I had all the felting supplies for years before I found something that really knocked my socks off!! My needle felting is still a work in progress, I have a lot to learn. I do really enjoy it. I just love working with my hands. I believe that it all started with mom and dad. Can you believe that Mom use to take us to ceramics with her? All four of us!?!? All under the age of 10?!?! She was a saint. I remember sculpting masterpieces out of clay and loving every minute of it. Thanks, Mom. Dad always worked with his hands. He is famous for his turkey callers and the ability to fix anything. I remember going out to his workshop when I was little and sweeping up cedar shavings. I loved helping him out there. The cedar shavings were like gold, we saved every scrap of them. What did we use them for? Maybe to make sachets for the closet? Make the house smell nice? Stuff homemade dolls? No, for lining our hamster cages. Wish that I had some cedar shavings to stuff my pincushions now. Read more about our mom and dad on my sister's blog http://www.patternpaperandcoffeerings.blogspot.com/ .

Above: Head waaayyy too big!!! She looks like a lamb. Felted head = fail, back to the drawing board!

Above: Front view, lopsided ears, eyes set too far into head and not even. Start over with a new head asap!
Now onward to the correct sized head!

Above: Red Riding Hood is going to visit Grandma. She has just finished baking oatmeal cookies, Grandma's favorite and has neatly placed them in her basket.

Above: RRH Mouse's head is 100% wool. Ears & eyelids are wool felt. Cape is felt.

Above: Little Red Riding Hood stopped by Patrick Gnome's house to give him some. Everybody knows that gnomes love oatmeal cookies.

Above: Back view. Tail is wrapped wire. Hood does not pull up. I tacked it so it would lay down.

Above: Nose and mouth are thin strands of wool felted down.

Above: Tiny little dress has red flowers on it. You cannot see the hand stitched collar, but it is there.
Plans are to make a wool Grandma's cottage pincushion. She stands at 3 1/4" tall. I have also sketched a Robin Hood with a tree pincushion, maybe mouse dressed up like a pig for The Three Pigs, along with a house pincushion, and several other storybook characters. I am sure that by now you have guessed that I love themed stuff.
Disclaimer: For some reason my spell check is not working today and if I misspelled anything, I apologize.

Have a wonderful sun filled day!
Holly

Friday, March 11, 2011

Sticky Fingers....Part 2

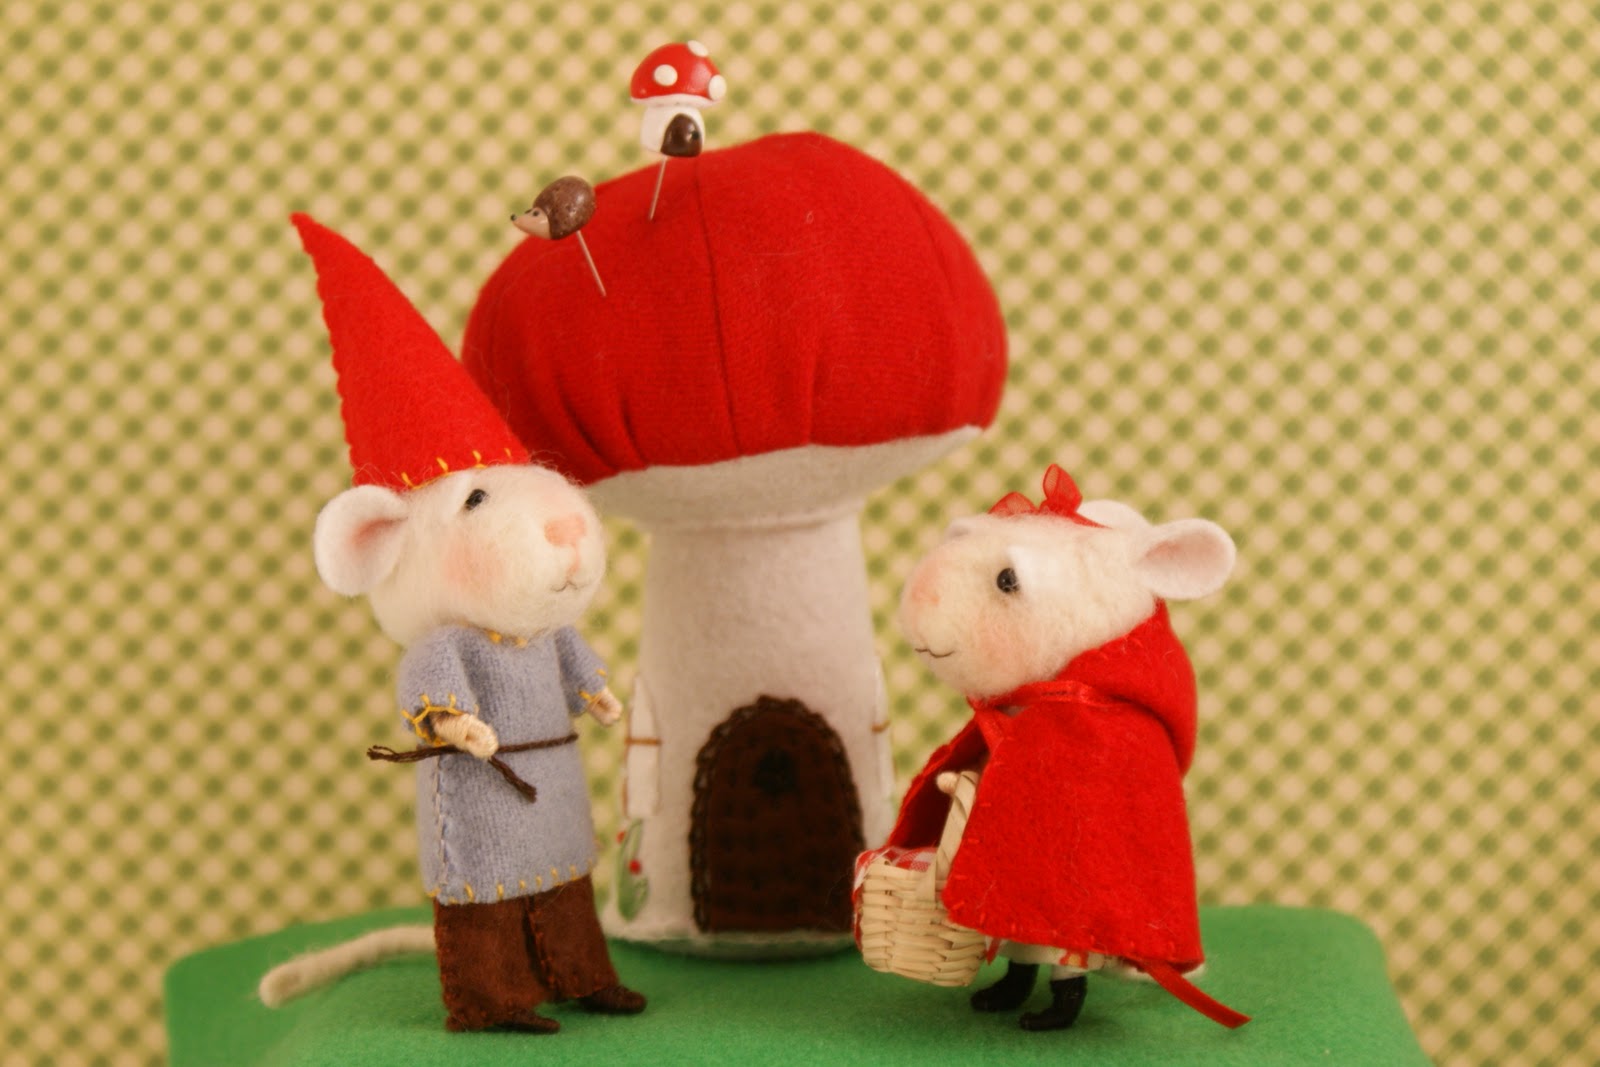
Here he is all finished. I think that I need to add some kind of accessory for him. Maybe a basket full of mushrooms or a mushroom lantern? I must say, needle felting is very challenging. It is not really an instant craft, I believe that I am going to have to practice, a lot.

Above: Mouse and felt mushroom pincushion.

Above: Hedgehog (what little gnome is complete without a pet hedgehog?) and mushroom house sewing pins.
Above: close up. See the little wispies on his chin. I jabbed and jabbed and couldn't get those stray fibers to disappear.

I am enjoying this new craft. I actually have had the supplies to needle felt for a few years now, but just never had the desire to do it. It is not an expensive hobby. You only need the needles (use 50% off coupon at Hobby L), foam (I had some decor foam that had been in the closet for ages) and wool roving (50%off coupon at Hobby L).
Have a great day,
Holly

Sticky Fingers....Or Maybe Stuck Fingers?

Wanted to share with you today something that I am trying. Needle felting. It has been around for a long time, but has just recently taken off in the last few years. It is still a little hard to find the supplies locally, so if you are interested your best bet may be the internet. I have found most of the supplies at Hobby L-needles & wool roving -I am just using some decor foam for the foam base. The hardest thing to find is the core wool. You want to use core wool for the inside because the dyed wool is a little more expensive. Needle felting is just what it sounds like-punching the needle into the wool hundreds of times to get the desired shape that you want. I am so new to this that I only started needle felting yesterday for the first time. After many band aids and thousands of punches later I still feel like a newbie. It might be years before I get the hang of this, but I am not going to give up! The finished product is so cute that I am not going to give up (deja vu-think I said this about crocheting too-I can crochet "ok" now at least I can understand the instructions).

It is funny, in all the felting tutorials or helpful hints I have read they always say "Whatever you do, don't stick your finger. It hurts!!". Well, duh....you can't help but to get your finger stuck. Just like when you are pinning a pattern to fabric or sewing, you know you are eventually going to get stuck. But this needle hurts!! It has barbs on it to lock the fibers together. And you have to jab the wool to shape it. You turn yourself into a  slower version of a sewing machine. The motion of your hand and needle is up and down, just like a sewing machine. The more you jab the faster you get and then ouch, before you know it you have jabbed your finger ten times! Now you look around and all of your pretty white wool has droplets of red on it, oh well, maybe you can make a zombie teddy bear or some kind of other scary thing that is suppose to look like carnage. At least I bought the extra large bag of wool :)
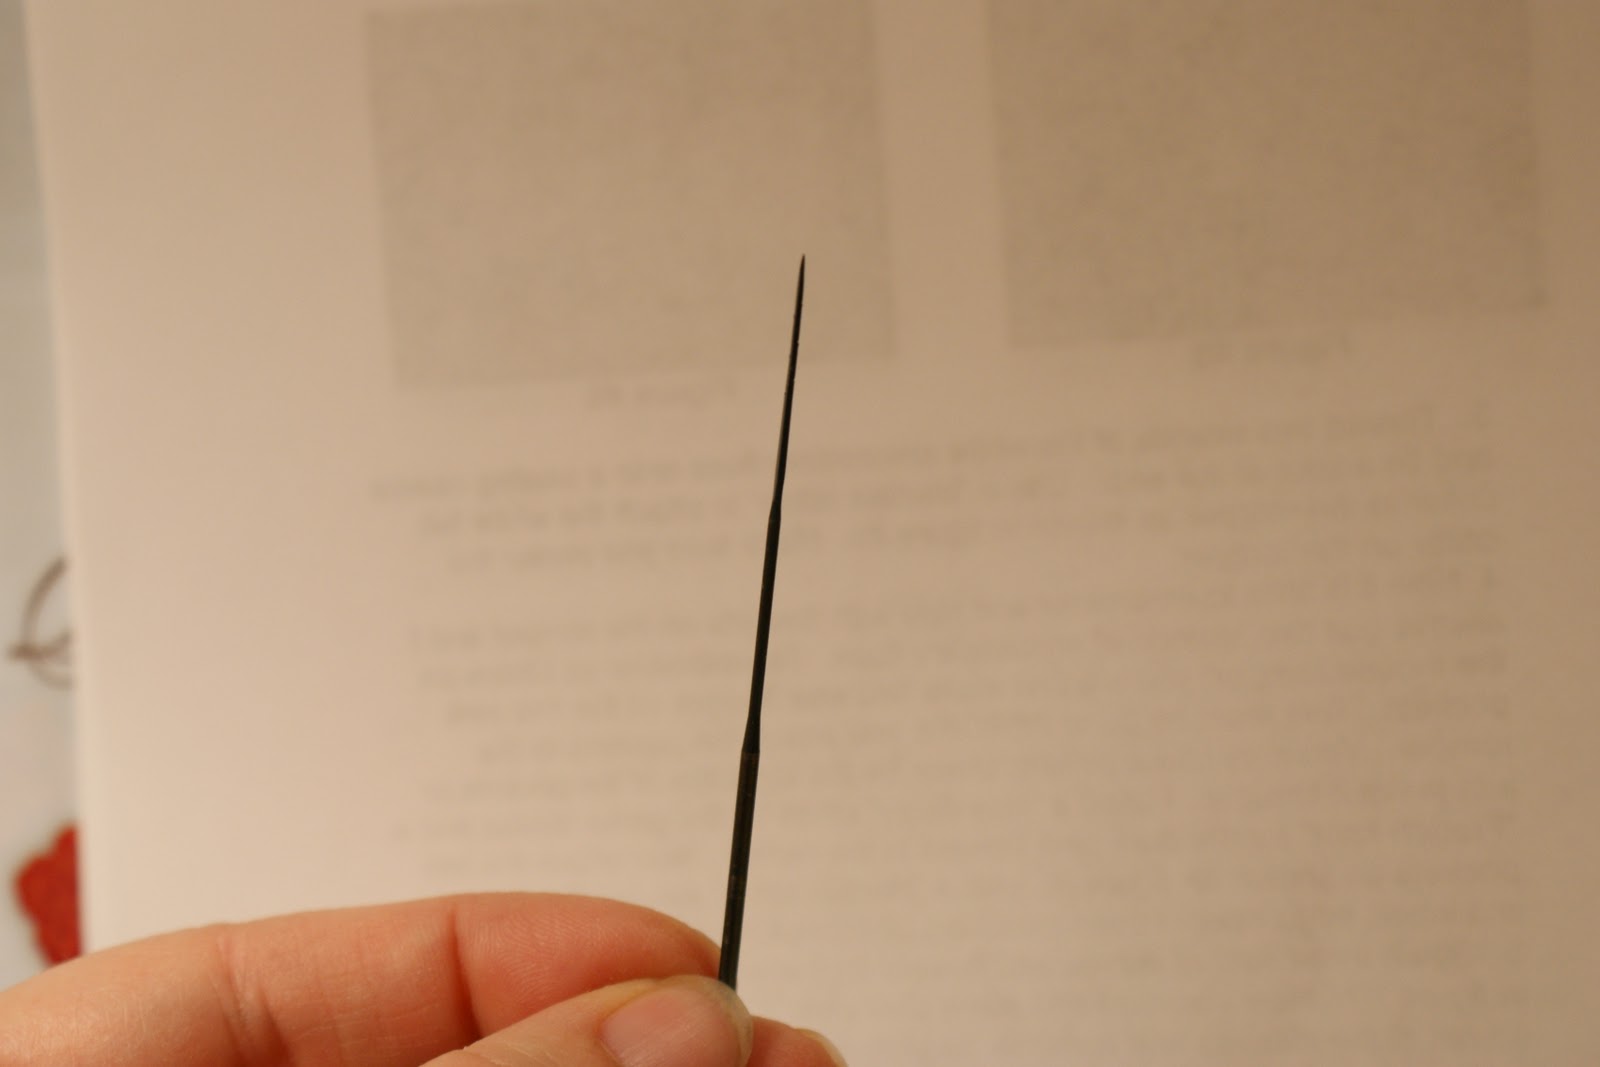
Above: Here's the weapon of choice. You may not be able to see the microscopic barbs but trust me they are there.

Above: Here's the reason for my self mutilation. Aren't they just adorable. My hubby asked me "Why would you want to make sad looking mice?" Hmmm..not sure how to answer that one. I think they are just
coo-tee   pa-toot-ees. I did try and make my mouse more happy looking.
Above: Here's the body wrapped in wool and that cocoon looking thing is he head.

Above: Here he is all dressed in the little gnome outfit. He is rather small, see the thimble.
Above: See he is smiling. He has one of those smiles that makes your eyes disappear.
Above: His head is a little long to me. Maybe it will look better once his hat and eyes are in place. That is the correct size for his head. 1 1/2". Remember the mushroom pincushion, I made him to go with it. The only problem that I have with the little mouse is the fuzziness of his head. I am not sure if I jabbed him enough or maybe it is the nature of the wool that I am using. Anyway I will post a pic of him when he is all finished.
Bye for now and keep those hands busy,
Holly