
Well....I almost forgot the last ornament. Here she is. Princess trick or treater. She reminds me of my sister. One year she trick or treated as a princess and I loved the hat. Mom made it out of a big piece of poster board and I remember she had a hard time keeping it on because it was heavy, but it was cute!

Pattern here.
Would also be cute with wings as an angel on the Christmas tree. You could leave the hat off and put a halo on. I may have to make a few in the Nutcracker theme!! Fun!!
She is very simple.
Supply list:
wooden bead for head
pink and flesh felt
pipe cleaner- I used vintage b/c they are skinny, but you can trim your pipe cleaner
pink tulle
pink satin ribbon
hot glue and white tacky glue
eye hook
embroidery floss in pink
clear sealer
1. Paint head flesh. Draw hair on. Paint hair.
2. Draw facial features on. Paint mouth white and then red lips. Dot eyes on, using a round toothpick dot the white of eyes on. With other end of toothpick dot nose on.
3. Dry brush cheeks on.
4. Seal with clear sealer.
5. Make body just like Cat girl here, glue head on.
6. Glue arms and legs on. No need to stitch.
7. Make an X with the ribbon on the front and back for bodice. Glue in place using hot glue.
8. Take a 3 3/4" length of ribbon for sleeve. Use a running stitch with needle and pink embroidery floss, (knot one end of floss) and then stitch along one side. Pull thread and slip on arm to shoulder area. Pull to ruffle, tie off. Do this for the other sleeve.
9.Slip tulle skirt on and pull thread to ruffle, tie off.
10. To make hat: cut out felt and paper pieces. Glue paper to felt using glue stick. Using a drop of hot glue, glue strips of tulle inside hat. After glue has hardened make into a cone shape, glue.
11. Do not glue hat on yet. Twist eye hook into top of head. Now glue hat on.
12. Add floss to eye hook for hanging.
You sweet princess is ready for hanging on your Halloween tree!! I hope that you enjoyed this series of Trick or Treat characters as much as I did designing them!! They sure were a treat to make (pun intended :)).
I have a tip to share with you on how to keep those ribbons and ric rac trims from unraveling. I know that the satin ribbons unravel terribly.

See the ugly frayed edges. This happens all the time no matter how much you trim and trim them.
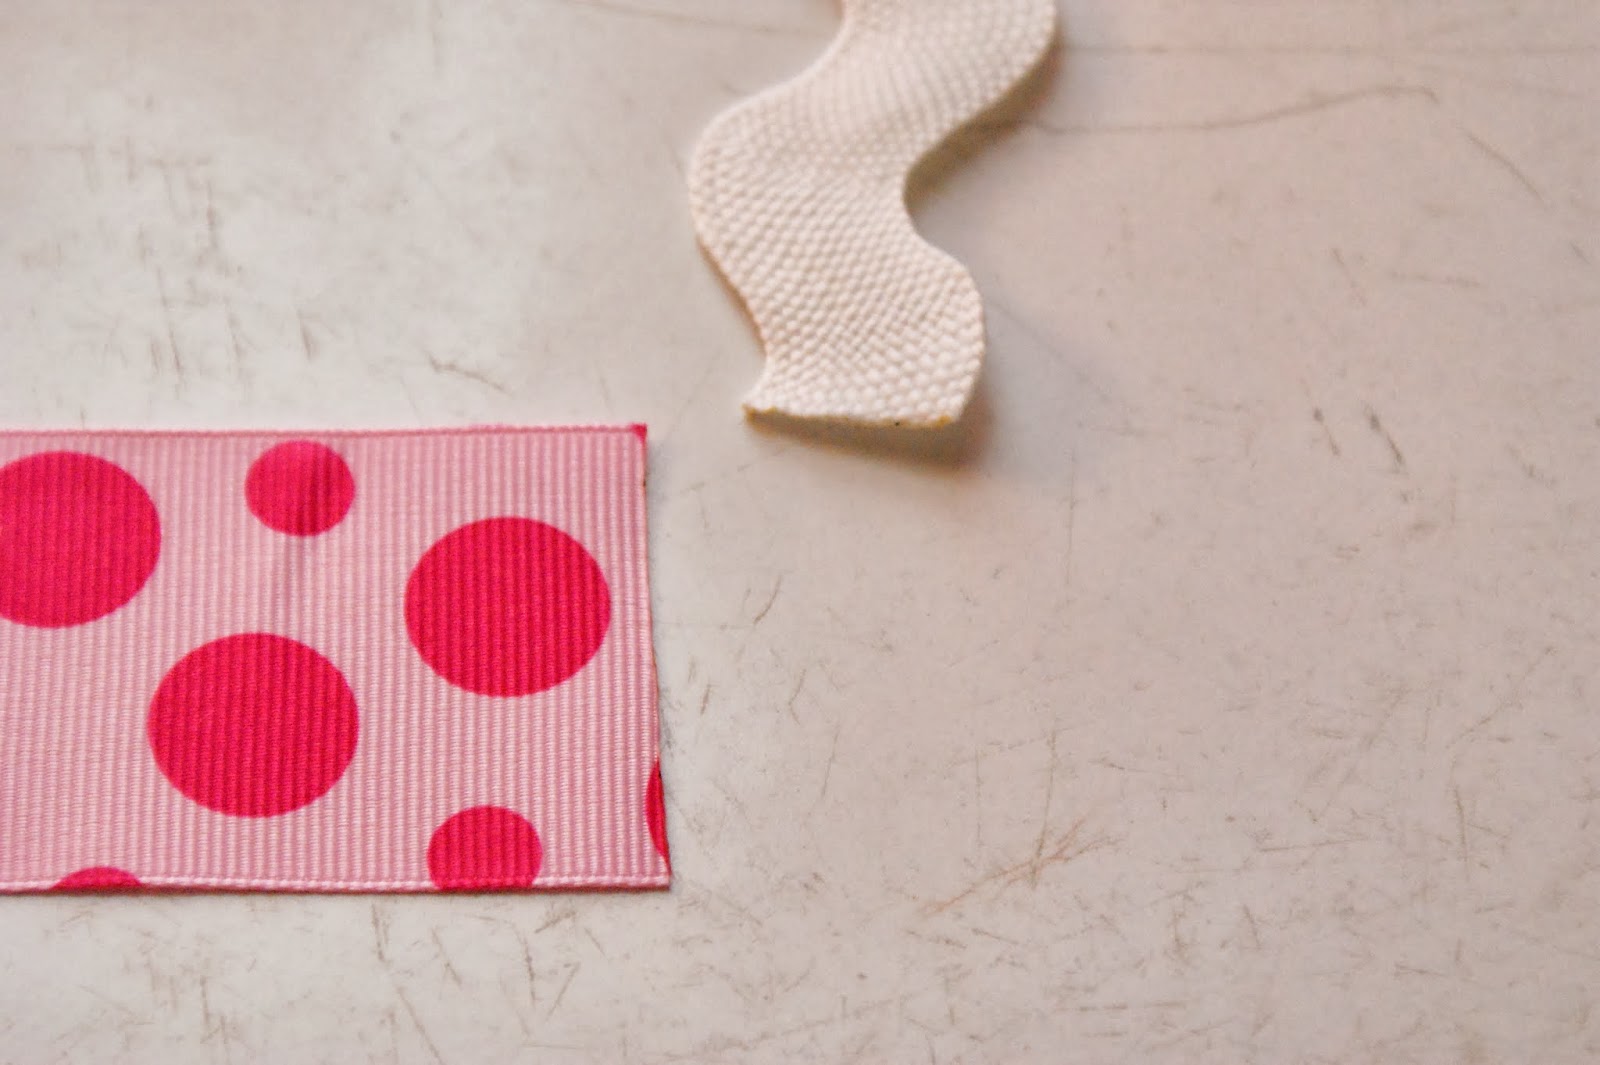
See the nice clean edges. They have been sealed. I use to use fray check but it often left a wet look especially on satin ribbon. Can you guess how I sealed it?
Ta-da.....

Do you know what this is? It's a soldering iron. Yep....the kind that solders well....solder. It is perfect for melting those pesky edges that drive me insane!!
But you do have to be very careful. Just like a clothes iron, this one gets real hot too!!

I keep it in this neat stand. See the sponge? Keep that wet and after every solder stroke, wipe the soldering iron off to remove the melted ribbon.
To make your soldering experience go more smoothly, you are welcome to use the tips below:
-if you do like to use the soldering iron for it's real purpose, as I do, please purchase a separate one to use on ribbons, it just makes life easier, plus they are not that expensive at Lowes
-the sponge will sizzle and "smoke" don't worry, that's normal, just don't make the sponge sopping wet
-as you melt the ribbon, take quick "chips" at the ribbon, this will keep you from accidentally melting a chunk out of your edge, then do one last "smooth over", that is taking the iron and lightly going from one side to the other in one stroke
-a stand is nice but not necessary, you could use a ceramic tile but be prepared for iron to roll around, promise me if the iron starts to roll off the table don't catch it-speaking from experience, nothing pretty is going to come out of you catching that thing
-purchased my stand at stained glass company, but I bet Ebay/Amazon, etc has them
-practice, practice, practice will make you less afraid of melting your ribbon and if you do, just trim the melted end off and start new
-I am just an email away if you have any questions :)
I really do love using the soldering iron instead of fray check or glue. It gives the edge a professional finished look.
Have a wonderful day and now I am off to make an Owl costume, hoot, hoot,
Holly