I can't believe that July is almost here! Boy, am I behind on my decorations. I had planned to make a lot of 4th of July things, but time just slipped away. I still plan on making them but will be posting them after the 4th :)
Anyway, here's a fun little shaker. Meet Liberty, the American Bald Eagle. He is so simple to make. If you have made one of my shakers before, he is just like them except the face piece is glued onto the shaker body.

The USA banner is just card stock, old dictionary pages (thanks Tammy!), silver pipe cleaners(twisted into tiny circles), blue stars, vintage tiny blue ric-rac and jute. I used bamboo skewers painted white and little wooden ball on top for the banner holders. I thought these "holders" looked like drum sticks. Would he be cute holding a vintage looking drum?
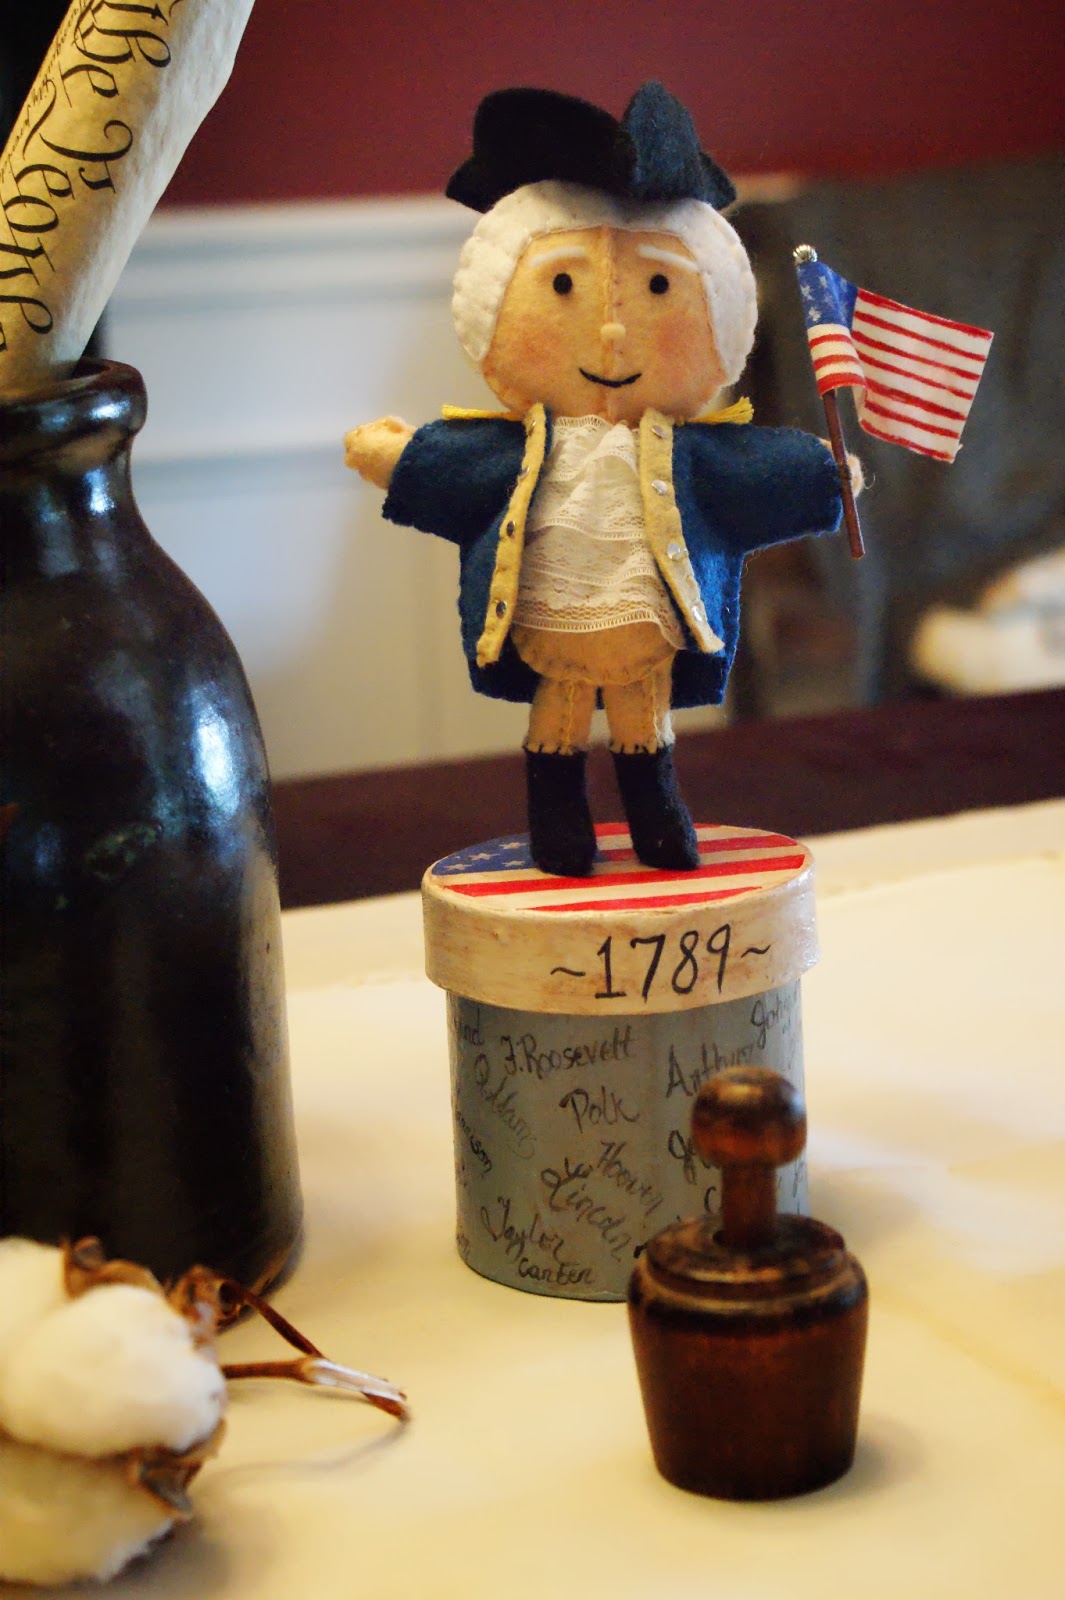
My dining room table. Even President Lincoln and President Washington decided to make an appearance. You can find their instructions
here and
here.
I placed a piece of floral foam in the bottom of this pewter pitcher. Stuck the flags in and then Liberty. I shredded some newspaper in our paper shredder and used that as a filler so that you couldn't see the floral foam. Shredded parchment paper would look awesome! If you decide not to place him in some sort of container to display him, sweet Carolyn sent me a tip that she came up with. Place a cute little end cap on the end of the wooden stick to cover the plain exposed end.
Thanks for this awesome tip, Carolyn!!
The back of Liberty. I glued the wings on using hot glue. Hot glue sets much quicker than my standard white craft glue. You can also see that the face piece is bigger than the shaker body. I matched the top of the face panel to the top of the shaker body and glued the face on. You can glue the banner poles onto his "hands" or do as I did and stitch the poles to his "hands". Which ever method that you choose, just remember to fold his "hands" around the poles to make it look like he is holding onto the poles.
I originally made this banner for Liberty, but as you can see it turned out too long. It does add a festive touch to the little birdhouse. I plan on making a tutorial for this banner on my other, poorly neglected blog
Prims n' Pins. Hopefully before this weekend.
President Lincoln. Feather pen in his hand and the Gettysburg Address in the other.
President Washington with his tricorn hat. See the piece of cotton in lower left hand corner? I grew that in my garden last year! The flowers on the cotton plants are so pretty- some are pink and some are white.
---------------------------------------------------------------------------------------------------------------
----------------------------------------------------------------------------------------------------------------------
I used 10mm safety eyes (Hobby Lobby, over on the teddy bear/doll making section). I broke the stems off of the backs of the eyes and just hot glued the eyes on. The eyebrows are stitched on using 2 strands of embroidery floss.
Even though it looks like I stitched the face panel on, I didn't. I just used the button hole stitch to go around the panel and then glued it onto the shaker body. You really don't have to do all of that stitching, I just like the look of the buttonhole stitch :)
Here's a layout of the feathers and face panel. The feathers will be layered. I glued the layers using the white craft glue. Glue row 1 to face panel, row 2 to row 1, row 3 to row 2.
For the beak: Sew two upper pieces together, just along the rounded edge, leaving the back and bottom open. Do the same for the lower beak but leave top and back open (zoom the picture for a closer look). Glue the upper beak on and then glue the lower beak on.
------------------------------------------------------------------------------------------------------------------
--------------------------------------------------------------------------------------------------------------------
Basic shaker body. Follow instructions
here or
here (in this tutorial with the pumpkin shakers, I forgot to add the cereal box cardboard, don't forget to add that to the shaker body and to the hat panels). Hat tutorial found
here, add strips of red felt for the stripes and a piece of blue felt for the hat band. I glued some little silver stars on the band. Fun!!
If you have any questions, please don't hesitate to leave a comment with your question!
Have a wonderful night and day and don't forget to add Liberty to your shaker collection!! If you make Liberty, I would love to see him. It warms my heart to know that someone would take the time to create something that I designed and I get such joy seeing your handiwork!!
Happy sewing,
Holly