Monday, January 31, 2011

Update on photo taking and light

I just looked at my camera instruction manual and found an amazing button. It will darken or lighten the object for you before the picture is taken. It is great! See photos below:
Here's a photo of the magic button, it is the round button to the far left. It has a little square picture in it. Ummm....yes....my camera is that dusty. Will have to clean her up before her next photo shoot. I rarely use eyepiece, always use LCD screen. So that is why dust collects on eyepiece. Yea....that's it.


                                                Above: Tent lights not on, nor was flash used.


Above: Spot lights used, close up, still too dark for me.


Above and below: Much better, used magic button on camera to lighten subjects. Face has a little glare on it, might need to move lights away from tent some.

Magic button turned all way to positive brightness
and below turned all the way to negative brightness. So cool.

Well that is all the new stuff that I have discovered today. Will study camera book soon.
good night,
Holly


Using a light box/tent

Here's a little bit about lighting and photographing small objects. For Christmas my DH gave me a light box. It is really just a collapsable tent. Kind of like those sunshades that you put in a car and then you twist them into a circle for storage. Before this I used a cardboard box with the sides cut out and tissue paper over the cut outs. This worked very well, but tended to rip alot when I stored it.


Above: Inside the light box is a sheet of scrapbooking paper. I love this paper, it comes in all sorts of prints for just a few pennies, on sale. I also hung a white piece of fabric, held in place by sewing pins, taking care not to tear light box. On either side of box are spot lights. I believe these were purchased at Lowe's home improvement. I also placed one above the light box. This one I "borrowed" from my son's closet.

Above: Here's an object place into the tent with all of the lights on. The inside of tent may look as bright as the above picture, but in the above pic I used the flash and on this pic I didn't.

Above: I didn't use a flash or turn the lights on. The doll may look really good from this angle, but look at the shadows and my camera had a very hard time focusing on her, so pic came out very blurry. This is not good if you are trying to photograph something you want to sell.

Above: Doll came out very stark! I don't like using the flash. I think it makes things look to washed out and other things too bright. But you can see the detail in the white fabric.

Above: This one is better. Image is still too dark for my tastes. Doll is not blurry. I have also found that it is more difficult using a white background than a colored one. I am working on taking lighter photos, but not bleached out ones. I think that I need more powerful spotlights. The ones that I am using were inexpensive and it is hard to position them.

The light box that I made was very easy to make. Instructions are online, just google "Light tent out of cardboard box.". That should pull up some tutorials.
**Disclaimer-please note that I am not an expert. I am still very much in the "learning" stage and hope to progress quickly, as the pictures that I am taking are not up to my standards yet. Please shoot, no pun intended, me some tips if you have any (comment section below will be fine).

Happy crafting,
Holly

Sunday, January 30, 2011

Few things to share....

Not much exciting happening around here. We ate supper over at the sweet neighbors. She is so kind and invited the whole family over for ribs! They were awesome. We invited them over next Sunday for our Sunday School Super Bowl Party. We will be having ribs.
Just a few pictures for your enjoyment:

Above: another Tooth Fairy Keepsake Doll, this time with blond hair.

Above: Just a little doll who likes her cup of coffee in the mornings....

Above: w/ cream of course!

Above: don't forget the little spoon. The cup, saucer, coffee and spoon are hand sculpted polymer clay.

Above: hysterical little tooth. Handsculpted and painted by me :) He is only about 1" long.

Above: little pirate bear. Was a gift for the neighbor. Pirate bear was an experiment, thankfully it went ok. I made his pattern up all by myself, in case I wanted to sell some later on. Really simple crochet-big ball for head, 1/2 ball for body and really looonnngg balls for arms & legs and some half circles for ears and circle for muzzle. Easy peasy. Of course I had to change yarn every row for shirt. Wasn't hard.

Above: cutie pie cupcake. Don't like this one as well as the one that I designed in previous post. Maybe biased, but I do get to sell the one I patterned, if only I could remember how I did it......
Good night and happy crafting,
Holly

Friday, January 28, 2011

Crayon rolls now on Etsy!

Hey, yes 2nd  post of the day! I have a lot to say today  tonight. More stuff on Etsy. Here's a few pictures of some crayon rolls that I plan on adding tomorrow.  I have already added the spider one.
Above: Cute mushroom, made from my own pattern, don't know if I can make her again, I didn't write it down......Oh well....Fabric on outside of this roll is all snails, cute snails, not the yucky, slimy ones.

Above: Another roll, this one is buggy. Has pictures of bees, caterpillars, spiders, snails and a few more. But not the slimy, yucky snails-the cute ones with bows in their hair, um....on their antenn-i (singular for antenna?). My amigurumi pattern also, and I didn't write it down either...actually all the "fob" characters are my own pattern. I had to get good at making my own stuff, for some reason most people don't want you making the little guys from their patterns and selling them. A few will let you sell finished product as long as you give them credit for pattern, which I am all about. Must give author of patterns credit where credit is due, but most of those are not quick little patterns, but very long ones. This would make the price of the crayon rolls go up a lot.

For the traveling kiddos....has states with capitols. Of course not all the states because that would be one BIG crayon roll. And a little felt car.

Above: Another buggy one. This time with a spider with wonky legs.

These guys kept staring at me while I worked in the studio tonight. At least they are smiling. They must know something I don't. Like who keeps stealing my pencils and scissors. I just can't keep up with that stuff.
Gotta go and find my scissors,
Stay crafty,
Holly

Finished projects!


I finally finished the pillowcase. The longest part of this project was blanket stitching the edge. The yarn I was using was a little too big. When the needle made the hole, the yarn was too big to fit through the hole. I will either use a bigger needle or smaller yarn. I believe she (http://www.yougogirl.typepad.com/) used a size 3 yarn. Not sure what that means exactly, but I plan on asking my crocheting sister. I was really suprised how fast the lace did go. Once blanket stitch was in place the crocheting went fast! Hopefully I will be inspired to make many more of these.


 Below: This is the other project that I was working on for the birthday gift. A little Cupcake! with sprinkles and a cherry on top! I have made many cupcakes, 10 or so, and somehow I remembered how to make them. Or basically the steps to making them. I didn't write the pattern down as I crocheted, so I am not able to give you the "recipe". Sorry. I do make up my own patterns, usually from drawings I do. I did a sock monkey and if i do him again, I will make a tutorial for him-maybe. There are free patterns on the internet and I am sure that there are cupcake patterns, just google crochet cupcake and several should pop up. Cherry was mine too. Sorry no instructions, they are lost somewhere in my brain.
Instruction book of basic stitches because it has been a few months since I have picked up the crochet hook. I have not been crocheting long, so please forgive the wonkyness of some of the stuff that I do. I was amazed at how easy it is to teach yourself to crochet. I learned in how to in about a week. Of course I probably crocheted 8 to 10 hours a day. And ripped out numerous mistakes, but it was well worth it. I can now put down the hooks, pick them up months later and still crochet like a pro novice-but I don't really have to do any refresher stitches. Why did I want to learn how to crochet, you might ask? I was determined to learn how to do this and read the patterns. I had seen the most adorable crochet animals, fruits, foods and many other cutie pie stuff and nobody in my household wanted to crochet them for me or should I say nobody wanted to learn to crochet and then teach me. So, I took it upon myself and I love it! So hopefully I will be listing some thing in my Etsy store soon (http://www.cottonpickinfun.etsy.com/).

Above: Here is the cupcake. It does have a little scallopy edge, I just forgot to smoosh it down. There are little tiny sprinkes on it.
Above: The sock monkey with fleece scarf. He is not very tall, maybe 6".
Maybe I can post some more stuff tomorrow, I seem to be on a roll.....
Stay warm and crafty,
Holly

Thursday, January 27, 2011

Whoooo? Whoooo? It's owls, of course.....

Look at these adorable fabrics! The lady at the store said that the black owl print is their most popular, it flies off the shelves. I just happened to snatch 2 yards of it yesterday. It is going to be a birthday present for a child that D#2 is friends with. The party is tomorrow night. They didn't want you to bring any gifts, but of course I have to give something. I plan on making a pillowcase and a crochet cupcake and sneak it over to their house, ring doorbell and run!! Of course while they are not at home. I can't run that fast, but I do like to play ding-dong ditch.
Caaa--yoootttt


Above: I want to crochet a border, but not sure what color to use. Red would be very pretty, but might run in the wash, it's cotton yarn. White will show up-(the owl border is about 3 1/2" wide and the other wilder material is the body of the pillowcase)-but not as pretty as the red. I do have yellow, but the yarn is a little wider and may not crochet as well. I'll just have to dig in and experiment.

Above: Just love these two materials and thought that I would share a picture of them.

This is a present for someone's birthday. Hint: their birthday falls on Groundhogs Day this year.
Have a great and crafty day,
Holly

Wednesday, January 26, 2011

Finally....some stuff on Etsy!!

I finally listed some stuff on Etsy. If you are not familar with Etsy, it is a little like Ebay, except most stuff on there is hand made and there is no bidding. You just purchase stuff. Take a look at my shop:
http://www.cottonpickinfun.etsy.com/ . All that I have listed now are my Clothespin Sewing Dolls and Lost Tooth Keepsake Dolls. Here are a couple of pictures, for more details & pictures check out my Etsy store.
Above: This is Ms. Cheery Cherry. I do not have her listed yet, but plan on doing that tomorrow. I am getting quicker listing stuff. Guess pratice makes perfect :)

Above: This is Betsy Ross. I wanted to do a patriotic themed doll and came up with this classic. I love her little hat.

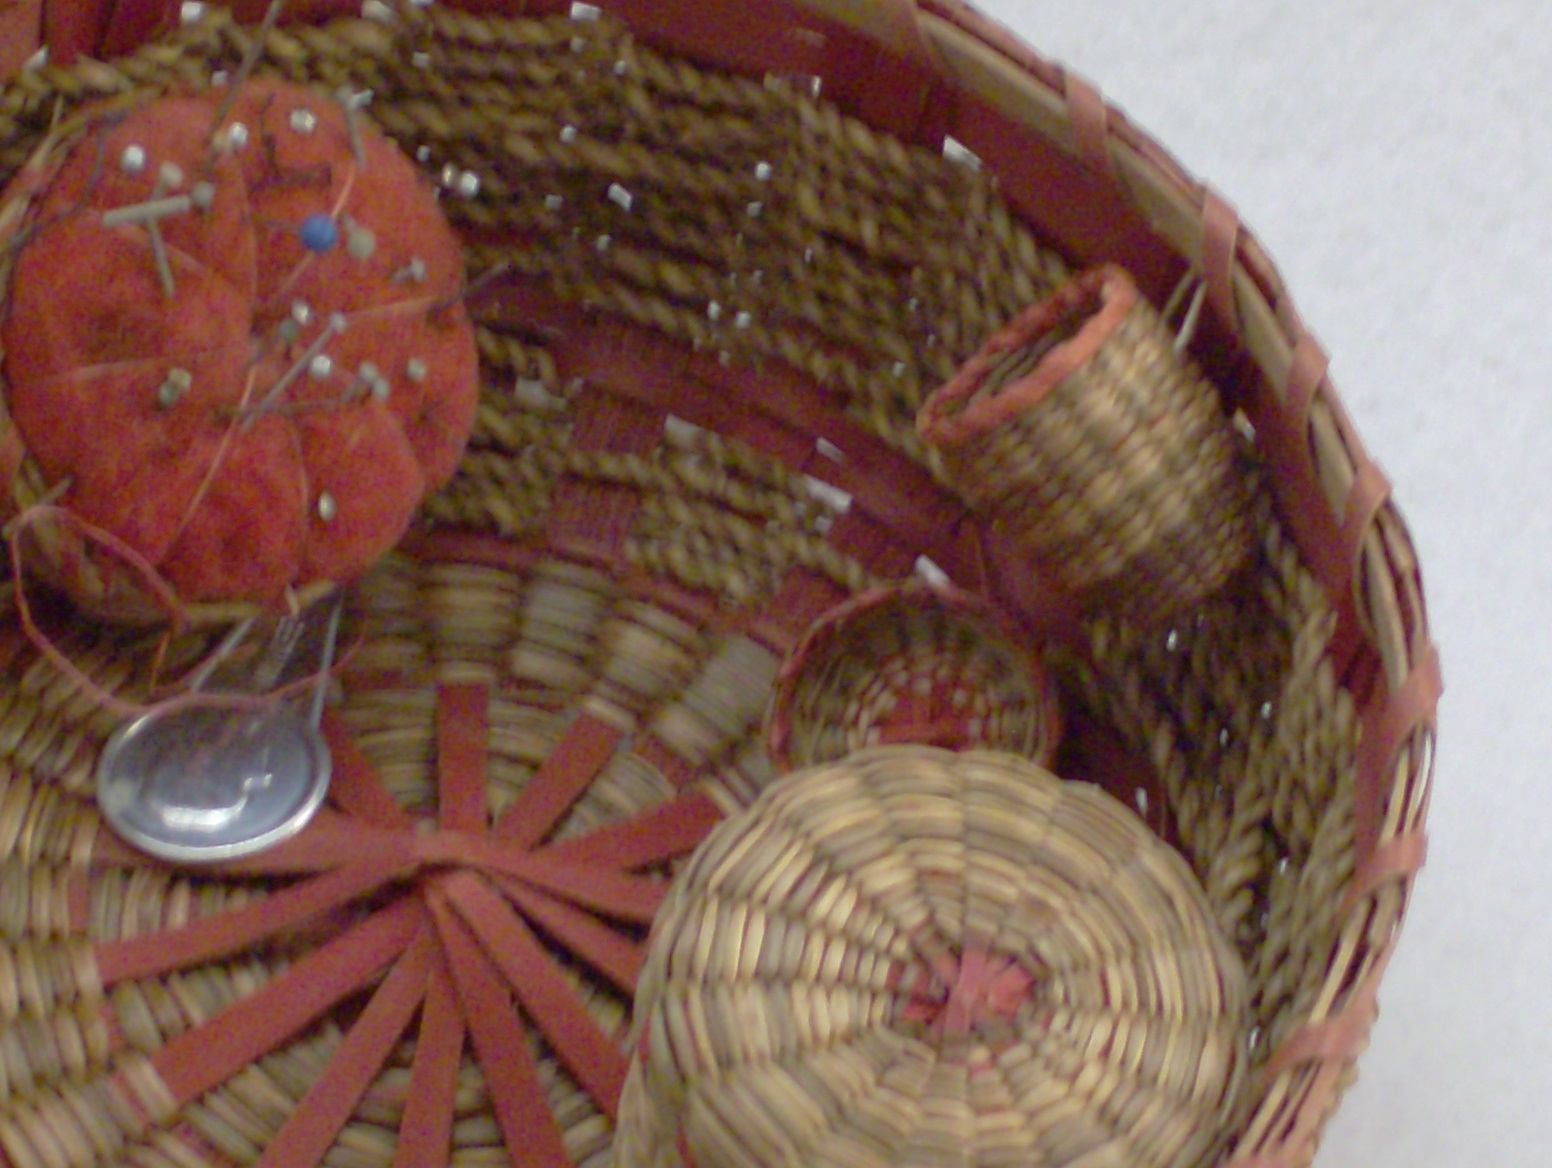
Here is Ms. Cherry's dress opened. Each one of these black pieces of fabric is actually pockets, where you can store things like scissors, seam rippers, pks of needles, etc. She also has a pin cushion on her pedestal with a little  polymer cherry pin-hard to see in this pic.

 Above: Betsy Ross with dressed opened. Here is a different layout for the inside. Not as many pockets, but a needle keeper (red felt to left), pincushion on the right flap with flag pin and wooden peg to the right of Betsy to hold a spool of thread (shown).
Above: Ms. Sewing Bee-to see her just go to my Etsy store.

I think the grin on this little girl is hysterical. She is so proud that she finally lost that loose tooth.

Cute little tooth that she is holding.

The Keepsake Doll comes with a box (on which she stands), a small note to the Tooth Fairy (you fill in the blanks on the note) and a little pillow to rest the tooth on.

The boy version. That grin still cracks me up. 
Thanks for looking and hope you have an awesome and crafty week!!
ps-I do plan on taking better photos, the one I have been using, uses eye-fi, which immediately downloads pictures onto the computer as soon as the picture is snapped. It is just a tiny hp. My good camera doesn't have eye-fi, actually it won't accept the card :((
Oh well, at least I don't have to draw pictures for you.
Goodnight,
Holly

Thursday, January 20, 2011

Still here..?...


Just poppin' in to say "hello". I can't believe how long it has been since I blogged. Last week we were snowed/iced in for almost the entire week. The kids only went to school on Friday and that was a 2 hour delay. Been working hard on some Etsy stuff. I know, I keep saying that I am going to post some things on Etsy, but haven't. So sorry. I wanted to get a small inventory together and not just put some random stuff on there. I can't wait to blog about what I am putting on there. Here's a few pictures that I thought that I would share. Trying to test out my new photo tent. Must spend some more time messing with it. The lighting should be brighter.

My vintage tomato pin cushions. Just love them!


Close up. That's my thimble, I have taught myself how to use it, but I am still trying to master it. The thimble is such a useful and tiny little tool. Kind of a lost art. Not many people that I know use one. I have found some on the internet that are just beautiful. Silver thimbles= beautiful little works of art.

 This is a sweet little sewing basket that I found on one of my antiquing adventures. It was only $8 and I can't imagine how old it is. The little thimble basket, notion basket,  and scissors basket were still intact. The pincushion still had old pins in it. It is so cute, I can just picture a mother storing all of her sewing supplies in there and darning the children's socks and sewing patches on their clothes at night after the children had all gone to bed.


Close up of the inside of the basket.


The little needle threader was a freebe that I found in the bottom of the basket.

Scissors keep.


Sewing basket with the lid on.

Little doll I plan on listing in the Etsy store.

Have a great rest of the week and hopefully I will be back soon with my Etsy listings :)
Holly