I love turtles! We've even had turtles as pets. One was named Stinky and let's just leave it at that. His name suited him. He was found in our yard so we returned him back to his home (pond in our backyard) after a few days. The other turtle we had was named Yertle. We kept him for about a year and a half and then let him go also. No, we weren't being mean to let him go in the wild. My daughter's teacher's husband ran over him with the lawnmower, so he became the classroom pet while he recuperated . We inherited him when school was over for the summer and then once he got a little bigger we just simply returned him back to nature where he belonged. So it is no surprise when I saw a turtle pincushion/measuring tape at a craft store I immediately bought it. He was cute but I knew that I could make him cuter!
Here is the original sweet little guy.
Now you can make your own! Gather the following supplies:
scraps of fabric-about 13 if you want a scrappy turtle shell
scrap of solid color fabric
2"x 4" piece of orange felt
needle and thread for hexagons
round retractable measuring tape
small scissors
cardstock or note cards for the hexagon templates
black & orange embroidery thread
2-4mm black beads
stuffing
6" piece of 1/8" wide ribbon
disappearing ink marker
sew in interfacing
sewing machine
2" diameter retractable measuring tape for sewing
****Instead of making a hexagon turtle shell, you could use a solid piece of fabric and he would be just as adorable. For a more prim look use just wools. I would still use the interfacing on both the cotton fabric or wool.

**Please note that my scanner/copier has finally bit the dust. I had to take a picture of the pattern and then upload it to the computer. When you print this pattern out PLEASE double check it with your ruler. I have added a 1" scale in the bottom left corner and some of the patterns have measurements on them. You might need to adjust your printer's % to get the pattern to print out the correct size. Please do not make copies of this pattern and sell it. You are welcome to make as many of the turtles you like but just don't sell my pattern. You are also welcome to send your friends over here to my blog for the pattern but just don't send them copies of my pattern. Thank you so much and sorry to have to state this but I have had numerous problems in the past with others not playing so nicely.
Do you recognize any of the fabrics? I used several of Lori Holt's fabric lines! Cutie patootie!
Cut the hexagon and half hexagon templates out of a thick cardstock or note cards. Notice the brown hexagon in the bottom right corner. I glued my large hexagon template onto a piece of sandpaper to keep it from slipping on the fabric while I traced around it. You only need to cut out one large hexagon template since you will use it just for tracing. Punch holes into the smaller hexagons, this will make it easier to remove them after sewing them together.
Place the paper hexagon onto the fabric hexagon and stitch around it, using tiny stitches and only place a stitch in the corners. If you don't understand this part, there are many tutorials online that go into greater detail.
Taking a tiny stitch. Click on picture to enlarge.
This is how I kept the template in place while stitching the half hexagon. Try your best to keep the paper template in place until the whole piece is stitch together. You can also put a pin at the bottom along the flat edge to keep the template in place while you sew the hexagons together.
I usually just finger press the edges.
All the hexagons and half hexagons completed and now it is time to stitch them together. Instructions are available from various sources online. Pinterest is another good place to look for instructions on sewing the hexagons together.
Hexies and half hexies stitched together. See the papers are still in place. I went ahead and took the half hexie papers out.
I use tiny embroidery scissors to pop out the papers.
Now iron the whole thing.
After you cut out the sew-in interfacing circle it's time to stitch it onto the hexagons. I like to sew close to the interfacing edge.
Trim the extra pieces of the half hexagons off, leaving about 1/4" fabric from interfacing sewing seam to cut edge. Baste stitch (red thread) around the hexagon circle right next to interfacing sewing seam. You will use this baste stitch to gather up the circle.
Trace the legs and head onto the solid fabric. Stitch on the traced line.
Cut the legs and head out. Leaving about 1/8" seam allowance.
To turn the tiny pieces, place one dowel inside of the leg piece and one dowel on the outside. Start rolling the leg up over the second dowel. Keep doing this until it is completely turned inside out. Do the same for the head. Lightly iron legs and head.
Lightly stuff the legs but firmly stuff the head. Stitch the long middle strip. Be sure to not forget to baste the area that you are suppose to baste. It is written on the pattern.
Start pinning the bottom circle to the side piece. I like to pin the side piece and bottom together before adding the legs and head. Match the head dot and tail dot on the bottom to the head dot and tail dot on the side. It should look like the above picture.
Now pin the side piece and bottom together before adding the legs and head. Pin all the way around. Pinch the turtle head, aligning front head seam to back head seam and stitch with sewing machine. In the above picture you can see where I stitched my turtle's head to keep it nice and neat before I placed it between the circle and side piece.
Make sure that your placement marks haven't disappeared. Mine did and I just placed the pattern back over the circle and remarked. Add the legs and head and pin into place. Make sure to orient the head correctly. Stitch with sewing machine using 2.0 stitch length. Go slow. Don't worry if little tucks form. I think this gives the little turtle some charm.
This is what the turtle will look like, but do not turn him yet. I will refer this part of the turtle as the "bottom part".
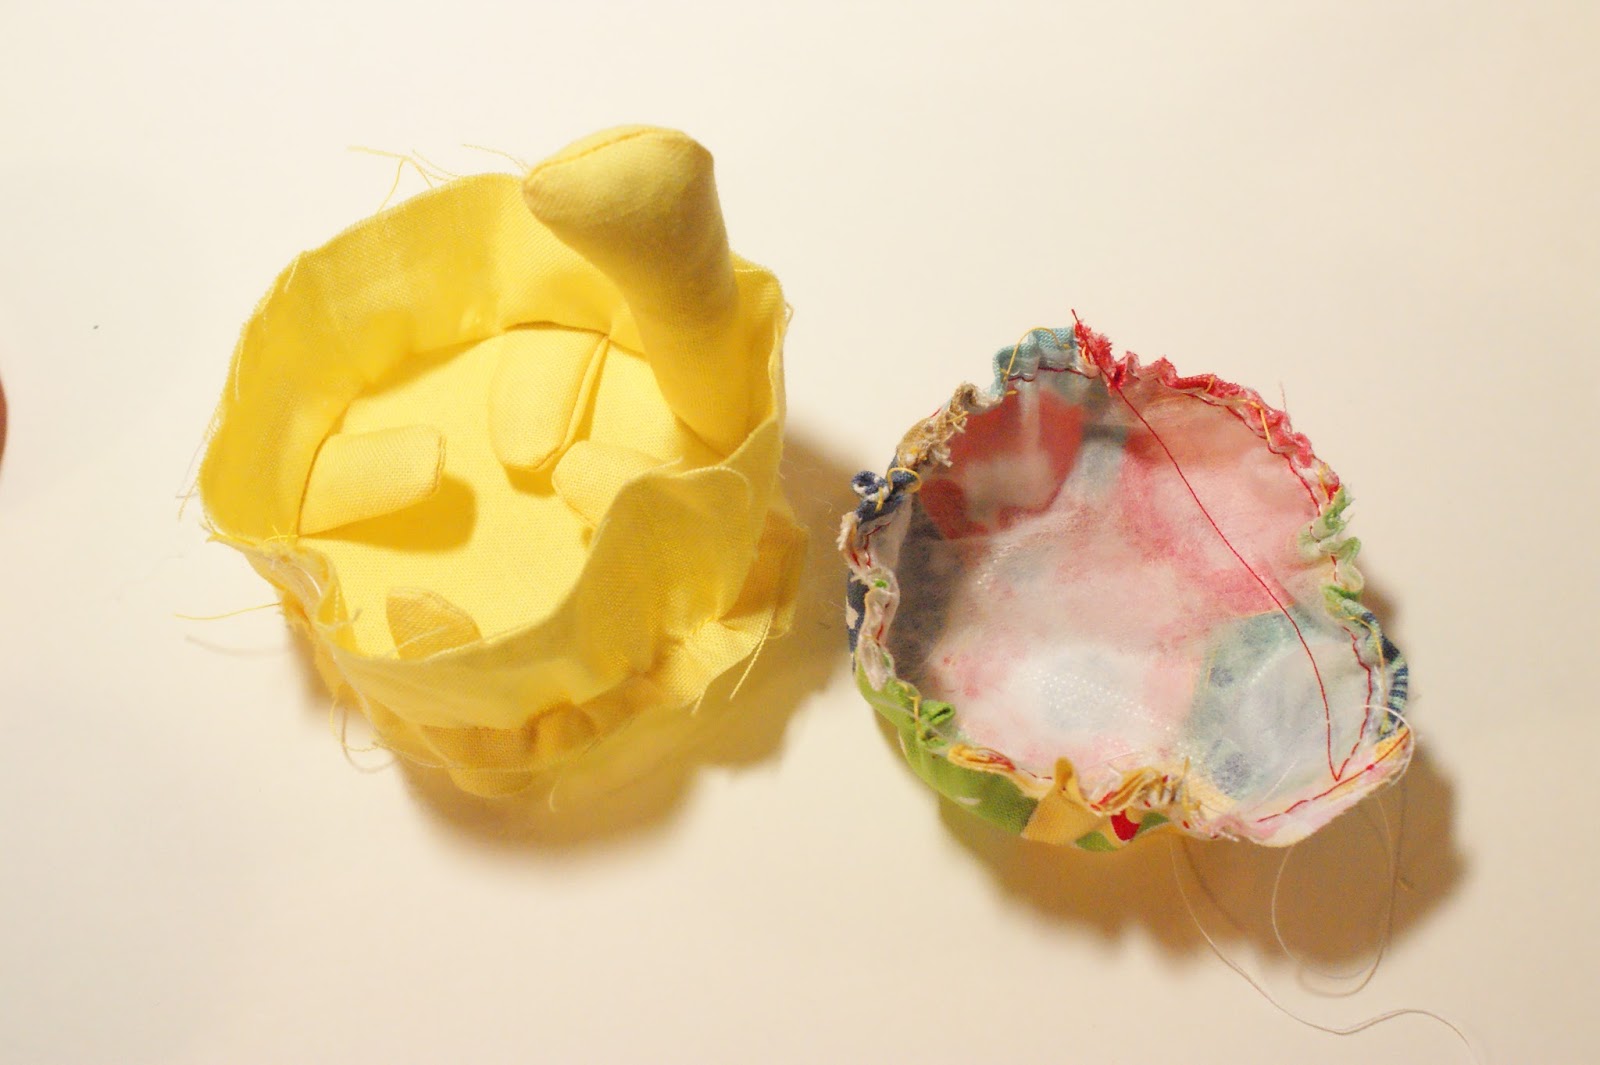
Take the top circle and pull the basting stitch so that the circle forms a "cup".
Place the hexagon cup into the bottom part and pin. As you can see I like to use a lot of pins. Leave about a 2" area where the tail will go unstitched. This will be where you turn, insert the measuring tape, and add stuffing.
Stitch- don't forget to use a 2.0 stitch length. Stitching this can be a little fiddly so don't give up.
Carefully go inside your little turtle and clip the basting stitches. This is where the measuring tape will come out. Now place the measuring tape inside the turtle and pull about 3" of tape out of the hole. Make sure the measuring tape's button is on the bottom. Stuff, using very small stitches, stitch the opening closed.
Now it's time to put the eyes on. Knot the thread and start at the base of the neck push the needle up to where you want an eye. Attach eye and then attach the other eye. Take the thread back down to the base of the neck and tie off. Attach the neck to the shell by using small stitches and then glue on the tail. Let dry. Yay! You are finished with the turtle part.
Tail glued on.
Time to make the little fish. Cut two fish out of orange felt. Make a french knot on each piece for the eye. Glue the 6" piece of ribbon onto one wrong side. Place the two pieces of felt together and stitch using the button hole stitch, you could also whip stitch it.
Your sweet turtle is finished! Now make a few more and give them to all your stitchy friends! They are very addictive. You could even make them to match your projects as I did with Yertle the Turtle.
If you have any questions, please don't hesitate to ask.
Yertle and Mertle: bff for life!
Have a happy day and keep those 10 little fingers busy,
Holly