Showing posts with label Halloween. Show all posts

Thursday, October 10, 2019

Change


A season of change. The blog has a new name, something that I have been contemplating for a while now. I love the story of the little red hen. She worked so hard all by herself. While I do love the help of others I also enjoy figuring out how to do something on my own.

Cotton and wool. Made this little quilt in 2016. It is so cute! Colors inspired by Pumpkin Patch Primitives. 

Lantern bow with cross stitched medallion. Pattern by Brenda Gervais.


This was a fun and quick stitch! It is Hands on Design. Very fun stitch using substitute colors that I had in my stash.

Handmade spider with fuzzy/fluffy body.

To use this most of the year, I replaced the pumpkins in the door with chickens and the pumpkins on the hill with sunflowers.

28 ct coffee/tea dyed monaco using called for threads.


Fall ready Hoosier. 

Hands on Design using Priscilla Blain's finishing inspirations and Javagirl Stitches youtube tutorial on bow making!


Stitched years ago. Scissors keep.

Happy stitching,
Holly


Thursday, October 24, 2013

Last Trick or Treat Ornament!!


Well....I almost forgot the last ornament. Here she is. Princess trick or treater. She reminds me of my sister. One year she trick or treated as a princess and I loved the hat. Mom made it out of a big piece of poster board and I remember she had a hard time keeping it on because it was heavy, but it was cute! 

Pattern here.
Would also be cute with wings as an angel on the Christmas tree. You could leave the hat off and put a halo on. I may have to make a few in the Nutcracker theme!! Fun!!
She is very simple.

Supply list:
wooden bead for head
pink and flesh felt
pipe cleaner- I used vintage b/c they are skinny, but you can trim your pipe cleaner
pink tulle
pink satin ribbon
hot glue and white tacky glue
eye hook
embroidery floss in pink
clear sealer

1. Paint head flesh. Draw hair on. Paint hair. 
2. Draw facial features on. Paint mouth white and then red lips. Dot eyes on, using a round toothpick dot the white of eyes on. With other end of toothpick dot nose on.
3. Dry brush cheeks on.
4. Seal with clear sealer.
5. Make body just like Cat girl here, glue head on.
6. Glue arms and legs on. No need to stitch.
7. Make an X with the ribbon on the front and back for bodice. Glue in place using hot glue.
8. Take a 3 3/4" length of ribbon for sleeve. Use a running stitch with needle and pink embroidery floss, (knot one end of floss) and then stitch along one side. Pull thread and slip on arm to shoulder area. Pull to ruffle, tie off. Do this for the other sleeve.
9.Slip tulle skirt on and pull thread to ruffle, tie off.
10. To make hat: cut out felt and paper pieces. Glue paper to felt using glue stick. Using a drop of hot glue, glue strips of tulle inside hat. After glue has hardened make into a cone shape, glue. 
11. Do not glue hat on yet. Twist eye hook into top of head. Now glue hat on.
12. Add floss to eye hook for hanging.
You sweet princess is ready for hanging on your Halloween tree!! I hope that you enjoyed this series of Trick or Treat characters as much as I did designing them!! They sure were a treat to make (pun intended :)).

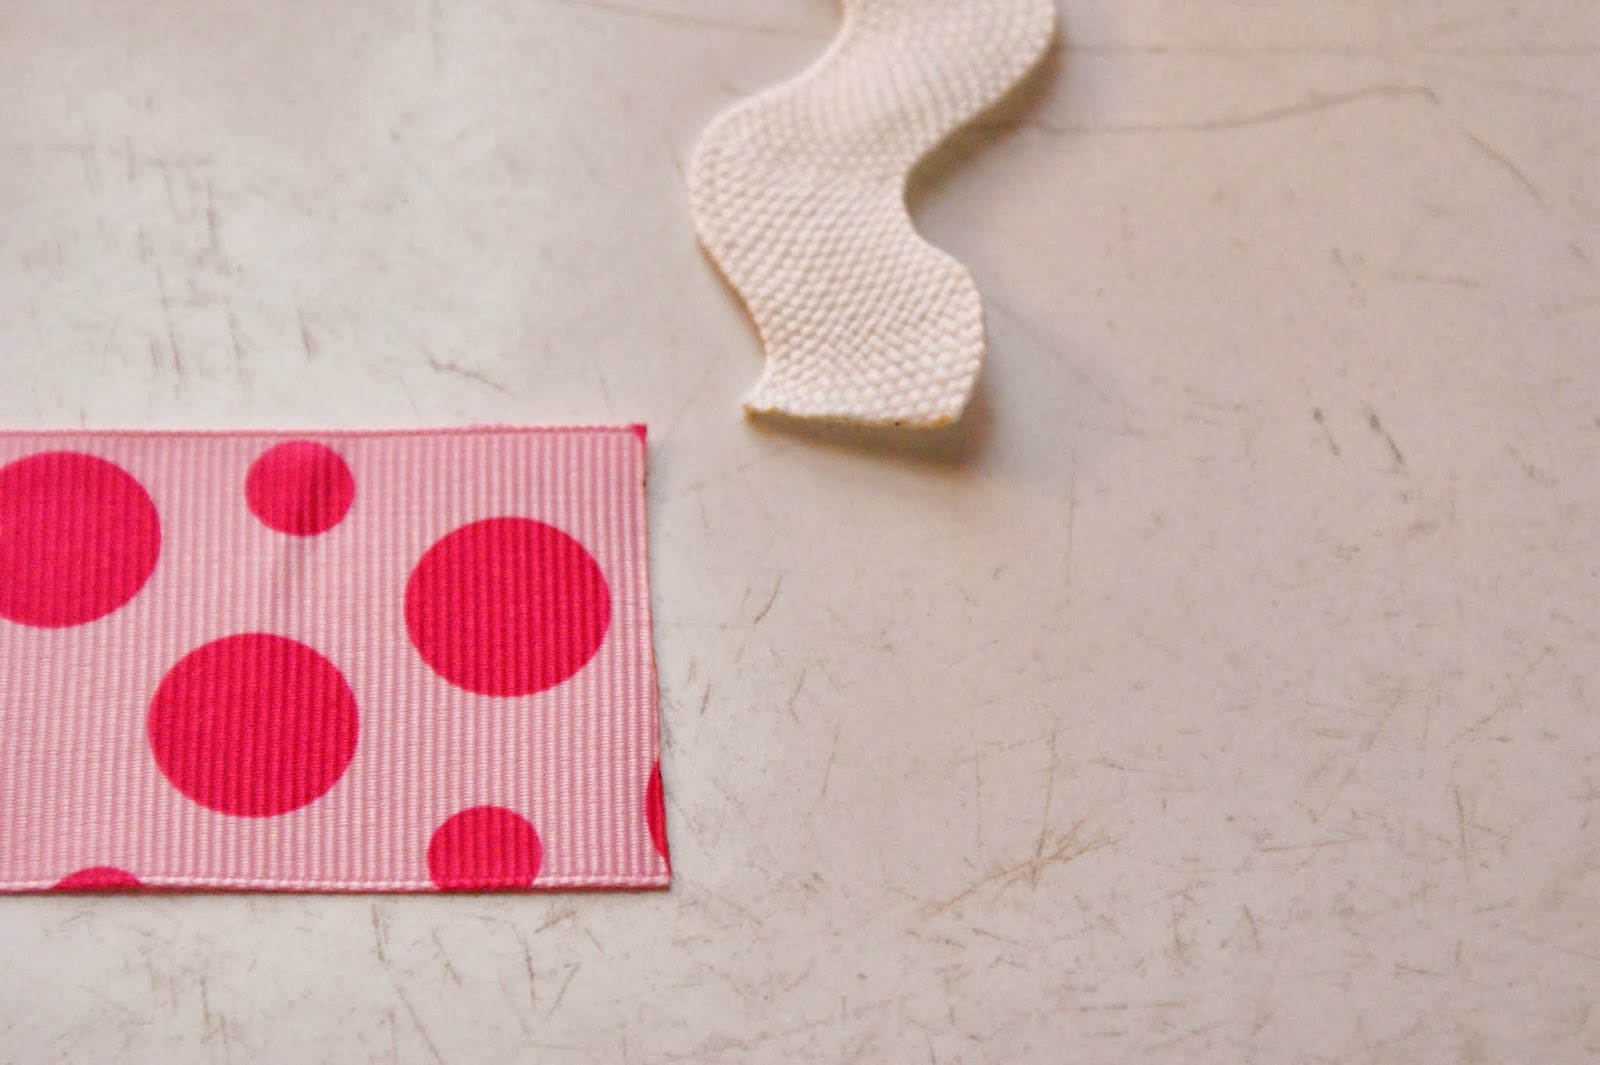
I have a tip to share with you on how to keep those ribbons and ric rac trims from unraveling. I know that the satin ribbons unravel terribly. 

See the ugly frayed edges. This happens all the time no matter how much you trim and trim them.

See the nice clean edges. They have been sealed. I use to use fray check but it often left a wet look especially on satin ribbon. Can you guess how I sealed it?
Ta-da.....

Do you know what this is? It's a soldering iron. Yep....the kind that solders well....solder. It is perfect for melting those pesky edges that drive me insane!!
But you do have to be very careful. Just like a clothes iron, this one gets real hot too!! 

I keep it in this neat stand. See the sponge? Keep that wet and after every solder stroke, wipe the soldering iron off to remove the melted ribbon. 
To make your soldering experience go more smoothly, you are welcome to use the tips below:

-if you do like to use the soldering iron for it's real purpose, as I do, please purchase a separate one to use on ribbons, it just makes life easier, plus they are not that expensive at Lowes

-the sponge will sizzle and "smoke" don't worry, that's normal, just don't make the sponge sopping wet

-as you melt the ribbon, take quick "chips" at the ribbon, this will keep you from accidentally melting a chunk out of your edge, then do one last "smooth over", that is taking the iron and lightly going from one side to the other in one stroke

-a stand is nice but not necessary, you could use a ceramic tile but be prepared for iron to roll around, promise me if the iron starts to roll off the table don't catch it-speaking from experience,  nothing pretty is going to come out of you catching that thing 

-purchased my stand at stained glass company, but I bet Ebay/Amazon, etc has them

-practice, practice, practice will make you less afraid of melting your ribbon and if you do, just trim the melted end off and start new

-I am just an email away if you have any questions :)

I really do love using the soldering iron instead of fray check or glue. It gives the edge a professional finished look.
Have a wonderful day and now I am off to make an Owl costume, hoot, hoot,
Holly


Wednesday, September 18, 2013

Classic Creature Feature: Frankenstein and His Bride Pattern

I have finally finished all of the Fall decorating. But the house is in a mess! We are having wood floors installed and since we are such diyers it is taking us a while. Hopefully we will have it all finished by this weekend and I will be able to take you on a little Fall decorating tour. 

Here's the pattern for Frankenstein and His Bride. Hope you have a wonderful time making them. If you have any questions, please don't hesitate to contact me. 


-------------------------------------

I promise to post his lab book soon. I have been sick since Friday of last week and as of yesterday feel much better! Just a Fall cold with fever, chills, vertigo (yea....bent over to plug something in on Friday and bumped my head hard on the wall, so weird, I couldn't judge the how far the wall was because my ears were so stopped up. Like I said, weird.). But I am so much better today. 

I hope that each and every one of you have a most wonderful vertigo free day!
Holly

Saturday, September 7, 2013

Creature Feature Friday On A Saturday: Frankenstein and His Bride

Creature Feature Friday patterns coming soon. We have had a very busy week this past week. D#2 turned 8 yesterday and we celebrated with friends at school and then went out to eat dinner. Today we went to an estate/yard sale, did some birthday shopping and tonight friends are coming over for dinner. I am falling behind on my blogging, so please bear with me. 
Chris and Carolyn guessed right!! The next patterns are Frankenstein and the Bride of Frankenstein. Those movies are scary fun, but I really loved Mel Brooks' "Young Frankenstein". It is a kooky movie and if you watch it, keep an eye on Igor's hump. It changes sides throughout the movie. 


See the little Lab Notes book to the left on the trinket box? Zoom in. I will show you how to make it when I upload the pattern next week. It is so simple.

If you are brave enough and want to chuckle at a kooky movie just click on it. I hope that it is not too corny for you :) Warning Gene Wilder is crazy!, but then again, I guess he is really crazy in all of his movies. I love how he says his name "That's Fron-ken-steen". 


Have a wonderful weekend,
Holly

Tuesday, September 3, 2013

Trick or Treat Ornaments II

Classic Creature Feature will return this Friday! Hope everyone here in the US had a wonderful Labor Day. We sure did. The in-laws were in town and we have a wonderful visit!

Have you decorated for Fall yet? I have almost finished.  I like to get decorations up early so I can enjoy them as long as possible.

Here are two more Trick or Treat Ornaments. Only one left. I wanted to go ahead and upload them for you so that you could get a head start before October gets here. I will get the last one ready for next week's post.
---------------
Pattern here.

---------------


Supplies:
wooden bead- paint face on, seal with mod podge
striped scrap of fabric
one pipe cleaner for each ornament (follow body instructions for Kitty Girl here)
wool felt:white, blue, black, flesh, yellow, red, green, gray
scrap of black cardstock
jute
embroidery thread: red, white, blue and gray
small eye hook-I get mine from Hobby Lobby in the wood section
paper wrapped floral wire
small black bead

Little Pirate.
Cut out all pattern pieces and then felt pieces. Using pipecleaners, make the body. Glue the arms, legs and feet on. Sew the pants on and then the shirt. Glue the head on. 


His belt is made out of jute rope and his sword is cut out of cardstock. His head scarf is a 1/2" x 10" strip of fabric. Cut it to size after you have tied it on. Screw the eye hook into the top of the head. Tie the embroidery floss on.

Cut out the pattern pieces and then the felt pieces. Make the pipe cleaner body. Glue the hands and feet on. Stitch the spacesuit onto the body. Glue the decorations on.
Spaceman's antennae is a piece of paper coated floral wire painted gray. I glued a small bead on top of the antennae. Drill a hole in the wooden head where the antennae will go and glue in place. Glue the head onto the body. Screw the eye hook into the top of the head.

Hang your ornaments on your tree. Enjoy!

If you have any trouble viewing the pattern, please don't hesitate to contact me and let me know. I now use Google Docs to store my patterns. This is an easy way to keep them all together.
Happy crafting and
Have a wonderful day!
Holly

TammyCA- Sorry you can't download Kitty Girl pattern, for a limited time (about a week) I will download it to the Kitty Girl post for you to make a copy. 
Shelley K-I need you address to send you the Kitty Girl that you won. Just send me an email with your address before the end of this week, after Friday I will send it to the second name that was drawn. I don't have your email address or I would send you an email. Hope that you see this post :)


Friday, August 23, 2013

Classic Creature Feature Friday: The Mummy!

Did you guess the Classic Creature right? Carolyn did! It's the Mummy! Have you ever watched this movie? It is a really good Classic Creature Feature (but not for the kiddos), even though the man's mad laughing in the beginning is kind of crazy.
Make the Mummy body the same way as all of the other felt trinket box characters. To save a few steps instead of cutting out 4 head pieces (since the center seam will be covered with mummy gauze) you could just cut out 2 circles and instead of 4 body pieces cut out 2. For the 2 body pieces: cut out two body paper pattern pieces and lay them side by side with the straight sides touching, pin and then cut out a single felt piece for the front. Do this step again for the back.

The Mummy is covered in strips of 1" cheese cloth. You can find cheese cloth in the baking aisle or where the canning supplies are located. I didn't even glue the ends, just tucked them in. For a more old antiquey mummy look, you could soak the cheese cloth in a weak brew of tea or coffee.

Back of box.
Paint lid a sandy color and the box a light brown. Hieroglyphics are painted with black paint.

Front of box.

Paper clay eyes. Make a ball of paper clay, flatten one side, let dry and paint white with black centers. Mouth is embroidered on using a running stitch, you could easily use a stem stitch. I lightly dusted the cheek area with blush.

I did glue some sand on the lid. To do this, finish painting the lid. Pour a little sand into a paper plate. Using masking tape, tape two spots about 1/4" x 1/4" square where the feet will go. Now mod podge the entire surface, leaving the taped pieces free of mod podge. Smosh the lid into the sand. Let dry for about 30 min. Lightly brush off loose sand. I globbed mod podge on top of the sand using a 1" wide brush, being very careful not to "pick up" any sand. This may have to dry for a while. I think mine took about 3-4 days to completely dry. After dry, with a needle, pick the tape off. You can now glue the mummy on.
Pattern found here.

The Monster Mash is almost complete! Just two more to go.
The next guy is going to give you a shocking good time. Can you guess?

Have a wonderful crafty night,
Holly

Wednesday, August 21, 2013

A Murder By Crows.....Or Rather A Murder Of Crows?

Just popping in to say "Hi". Things have been so busy around here lately. D#1 off to college, D#2 back to school and Son filling out paperwork, etc for the Navy. I think that he is a little undecided about the Navy, but he says that he is going to join. I'll keep you posted. Some kind of test that he needs to take is offered in about 6 weeks, meanwhile he is enjoying his electrical job.


The weather is turning a little cooler. The other day I was doing yard work, temp was about 70 and the crows were cawing. Did you know that a group of crows is called a Murder? One morning last fall while I was making my daily walking around the neighborhood, a bunch of crows started following me. They hopped/flew from tree to tree for about 1/2 mile. Weird, I thought. As I was watching them, I also thought "Oh man.....a group of crows is called a Murder. Yikes." All of this while I was walking up the dreaded really, really, really steep hill. My heart was already thumping out of my chest. Good thing it wasn't a group of vultures.

(photo courtesy of internet, no....I was not followed by that many crows. YIKES!)

All of this cooler, crow cawing weather has me thinking about Fall. I love the word Fall, but I also love the word Autumn. I love making Fall/Autumn crafts. I hope that you don't get tired of seeing them. Anyway, here's something recently that I designed and though that you might enjoy. For this particular one, I have the pattern listed on Etsy. My sweet sister and dear daughter have convinced me that I do need to add a few to Etsy.
I know that Sandy (521 Lake Street) and Deb (Garage Sale Gal) are having a Halloween Spoolie swap. Wouldn't these look so cute on a spoolie? I haven't decided if I am going to join or not, I am crazy busy right now, so feel free to use my Etsy pattern. I have another idea that I will use if I decide to join. It does sound like loads of fun!


Crazy monster. Love the hair. All four sides of his cube are painted with different monsters.

You can personalize your little guys! Doesn't he look hilarious with that hair?!?! I used fake fur instead of a hat. What a character!

Have a wonderful crafty night, Holly


Kid Notes: D#2 (who is 7 years old, by the way) informed hubby and I that she has a crush on a certain little boy in her class. Uh oh.....last time she had a crush was in preschool. She like this little boy so much that she said "He is just so cute that I have to give him a hug every day before we leave.". Oh man, how was I going to explain to a little 3 year old that rules in the preschool handbook specifically state "no physical contact between students, ex. hugging, hitting, pinching, .....". Well, I told her no more hugging cute, little, huggable Jeffrey (name changed to protect the cute & huggable little J), because the preschool handbook tells us not to. So, off to school we went. When it was time to go home, D#2 told J that she would give him one last little hug, she did and then he bit her. Yes, that cute, huggable, now devilish J. Cured her right then and there. No more hugging cute, little, huggable, seemingly harmless boys. Yep, cured her, until yesterday. But she quickly informed hubby and I "I have a crush on -------, but I am sure that it will pass in time, so don't worry." I am not worried, nope, not at all. She still talks about devilish J and the time he decided to take a bite out of her, but she has moved on. 


Friday, August 16, 2013

Creature Feature Friday! The Wolf Man

Thank you so much for all of the sweet comments on Kitty Girl! She is really easy to make and such a cute ornament. Now, for  the next Creature Feature. Did you guess correctly? It's the old movie The Wolf Man! That one was scary to me, but also a fun movie. I loved the old Gypsy lady. Did you see the one called Silver Bullet? Oh boy, was that movie SCARY and intense! I saw it as a teenager on t.v., I can't imagine watching it on the big screen. Well, my Wolf Man is not that scary. He is rather cute.

Tiny claws on each hand!

Movie poster for the Classic!

"...howl at the moon...." is painted on the lid. I couldn't find the round box to match this lid, so technically he is not a trinket box yet ;)

Side view.

Back view.


Supplies:
Remnant of fake fur (found at Hobby L)
Wool felt: mossy green, black, & brown
2 black safety eyes, clip the "stems" off
white paper for the teeth
paper mache box with lid, painted black using mod podge as a sealer
embroidery floss to match wool
-------------------------------------------------------------------------------------
Pattern here
-------------------------------------------------------------------------------------

Cut all pattern pieces out. Cut wool felt pieces. Be very careful when cutting out the fake fur pieces. You will want to take tiny snips at the fur when cutting. Do not take full scissor cuts because this will cause the fur to look unnaturally cut.

Sew the arms, legs (don't forget the foot gussets), body and inner head. Attach all of these parts using glue or thread. I like thread because you don't have to wait for it to dry.

The main thing working with fake fur is to not get the fur caught in the stitches. So, carefully sew the fur head, leaving the chin area open so that you can slip it over the inner head. I used a button hole stitch as I pinched the two pieces of fur together. I did put a few pins in it before I started sewing to keep it from slipping. 

Now trim the fur from the face area, pattern will show you the area to trim. Glue eyes on (I made a comma shape on the lower area of the eye to give it some depth. I just used acrylic paint. If it rubs off, I can always just paint it right back on so I didn't worry about sealing it.), glue nose on and then mouth. The teeth were cut out of copy paper and glued on using a glue stick.

Sew the clothes onto the body. Pants first then shirt. Now place the fur head on. You can leave it loose or glue it in place. Glue claws on and then glue him onto the trinket box. I like to "brush" Wolf Man's fur by blowing on it. I find that this works great at making the fur stand on end, plus it's fun!

That's a wrap!
(next Creature Feature clue above! Can you guess?)

I hope you have some howling good fun making him,
Holly


Wednesday, August 7, 2013

Trick or Treat!

Every year I made my children's Halloween costumes. Fun, exciting and non scary. Over the years I have made: Snow White, Prince Charming, Cheerleader, Woody from Toy Story, Scooby Doo, Kitty Cat, Bat, Ash (cartoon character), Dalmatian, Angel and many others. I love looking back at these pictures and remembering all of the fun times. I wanted to capture those memories in a Halloween project, mainly an ornament. I have a cute feather tree that was just begging for ornaments. This is a fun and very quick project. Very small amount of sewing and painting involved. I have made several of these Trick or Treat Kids that I will be sharing with you in the coming weeks. The first one is my favorite: Kitty Cat Girl.


Cute vintage cupcake pick makes an adorable Trick or Treat pumpkin. Just break the pick part off.


Supplies needed:
Cut out patterns. Cut out felt pieces. Paint head and mod podge head.

Cut pipecleaner in half. Bend each piece in half. Push one set into head and bend to make "shoulder" area.

The other half is for the legs. You might need to zoom in for a closer look to see placement of legs across shoulders.

Lay the felt body on top of the arms and legs. Trim the arms and legs within 1/4" of edge of sleeves and hem of "pants". 

Glue the hands and feet on. After glue dries, sew costume body on. I trimmed her wrists, ankles and neck in black pipecleaner. Glue some pompoms on the front of her costume. If you would like to make her into an ornament, carefully screw a tiny eyehook into the top of her head and tie embroidery floss for a hanger. Glue felt ears on. 
---------
Pattern is here.

-----------

*****

*****
Please do not pin pattern to Pinterest. Thanks.


So sorry, but I will be out of town on Friday, so Creature Feature Trinket Boxes will resume the next Friday. I guarantee the next trinket box will give you a howling good time.

What was your favorite/most memorable costume as a child? Or one that you made for your child?  Or what is your favorite thing to do in the Fall? Leave a comment and let me know before 1pm August 13th and I will get D#2 to draw a name on Tuesday and you could win the Kitty Girl Ornament!

Have a wonderful night and keep those crafty hands busy,
Holly