Showing posts with label featherweight sewing machine. Show all posts

Tuesday, August 12, 2014

A Well Dressed Gal

I have had this little project on the bucket list for quite a while now. This little FW was shown a lot of love from her previous owner and I want to keep her as chip free as possible. But with moving her in and out of the little travel box, chips are sure to happen. The old gal needed some protective clothing. 

This is how you put her into the travel box, ahem......naked. The cord and petal fit into the box. You place the  attachments, thread, bobbins, etc in the top tray. And as careful as I want to be am, I know that chips are in our future. So, to remedy this ghastly disaster I wanted to make some sort of bags and cover for her.

Ta...da...I made a "sock" for the platform that lifts up, the platform will actually hit the screw that is in the "head" of the machine if you are not careful. Ouch! I made a lined bag for the cord and petal and another smaller quilted bag for the attachments. I wanted to quilt this bag to add extra padding to protect the attachments.

Here is the cover. Don't you just love the Mary Engelbreit fabric. I have had this in my stash for ages. I am trying to use my sister's sense of "use it or lose it". She is culling her fabric stash down by making her girls adorable clothing. Go and take a look at her and a friend's new sewing blog: ISewYouSew.

Now the cover is converted into a tote to carry your machine or to lower it down into the case. I don't have a pattern for the sock or two bags but you can find the pattern for the tote/dust cover on the blog CraftyHipster. If your machine is larger, just enlarge the pattern. I plan on making a dust cover for all of my machines. I am going to be very busy for a while :)

The dust cover turned upside down to form a tote. 

Birdseye view. All tucked in nice and neat. This was a fun project. The only thing that I changed from the pattern was the piping. I made my own. It is very simple to make. 3 yards of cording about 1/8"-1/4" diameter. I find that the smaller diameter cording is easier to sew onto a project, less bulky.

Have a goodnight and keep those crafty fingers busy,
Holly 


Wednesday, July 30, 2014

Working On My Barn Quilt


It's no secret that I love quilts! I think that there is something so magical about turning a stack of fabric into a wonderful work of art, that is both beautiful and functional. It takes many hours of work to turn that fabric into a quilt. I love the whole process! I have one quilt that took me 120 hours to make. It is a paper pieced quilt. Paper piecing is magical! The process is very easy. Google it if you are curious. Pinterest is full of wonderful paper pieced examples. 
I am coming along with my Quilty Barn Along. I have two more blocks that are almost finished. I had to order more black on black patterned fabric. I just didn't have any in my stash. Can you find the mistake? Look closely. It is the barn on the bottom right. It's the cupolas. I reversed the roof and cupola "siding". But, it's ok. 

I just love the barn blocks. 


I know, I know......not another one. Yep, I found a Featherweight at an estate sale recently. The price was so amazing, that I couldn't pass it up. It's funny, back when I was really looking for one I couldn't find one at all. Now that I am no longer looking, they seem to find me. Not sure if I am keeping this one or selling it. It is in excellent condition with instruction booklet, case and other odds and ends. I don't think that the lady that owned it used it much. Thankfully she was just downsizing. I like those types of estate sales, they are not as sad to me.


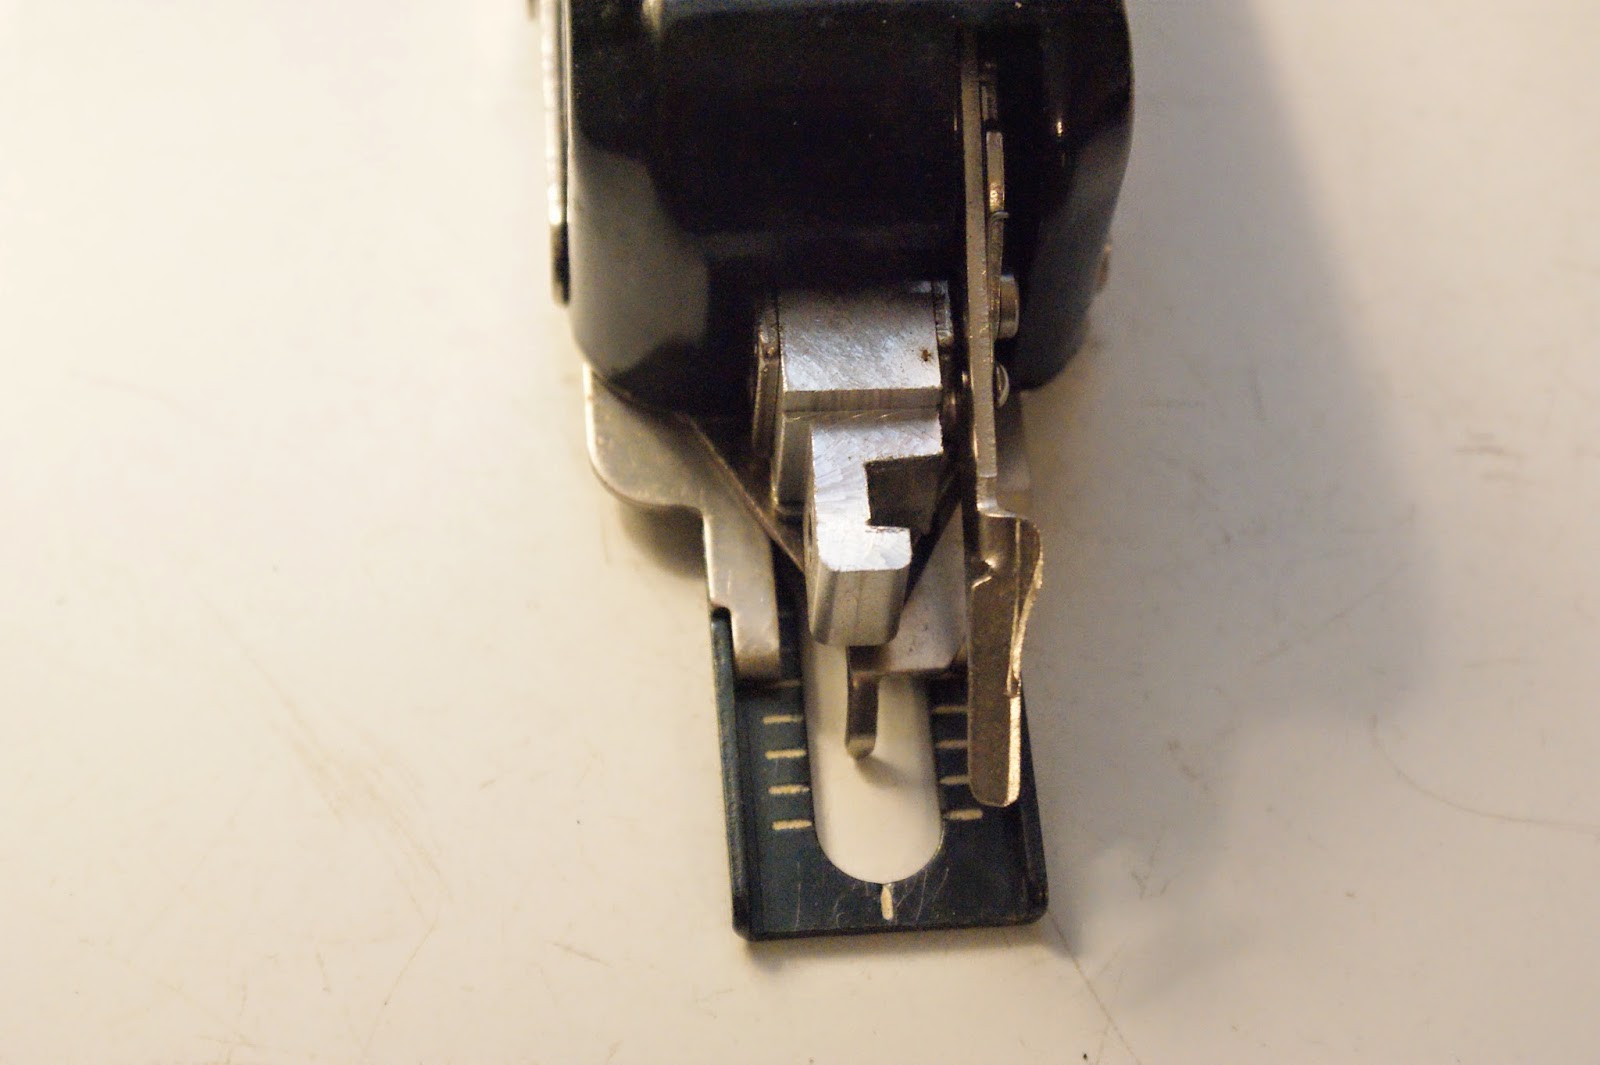
It also came with a buttonhole maker for free. They just threw it in at no charge. Said that it didn't make sense to sell the buttonhole maker and machine separately. 

It's very interesting. I am not sure how it works but it came in a little box with instructions.

I love these old labels.

I have recently stumbled upon this site lostquilt.com. I was shocked and saddened to find that people steal quilts. I guess that I never really thought about quilt theft. Some of these thefts happened at quilt shows. So sad. The site is a great addition to the quilting community. Some of the quilts have actually been recovered. Recently a quilter lost 16 quilts to thieves. They broke into her studio and only stole the quilts. You can read about it here: Quiltville Friends on facebook. You may have to scroll down a little to find the article. I also found out that you can microchip your quilt. If I ever enter a quilt in a show or mail one, I know now to put my name and address on the quilt. It is even suggested that you sew it inside the quilt sandwiched between the batting and backing before adding the binding. Great tips. 


It's been hot here but starting to cool off a little. 


Sometimes all you need is a little pool, a water gun and a wet t shirt to rule the world!

Have a happy day and if you don't quilt I urge you to start! If you have any quilty questions just leave me a comment and I will do my best to answer it.
Holly


Sunday, August 28, 2011

Happy Little Plate

I have always loved the dreamy Dresden plate, but it looks so complicated. I finally couldn't resist it anymore. I have this sweet little ruler, just for making Dresden plates of all sizes. Wouldn't a little 4 1/2" Dresden plate look adorable? Well, actually the spokes are 4 1/2", the plate ends up being 11 1/2".

Above: first step: cut out wedge using ruler, then cut out 19 more using different fabrics.

Above: Then fold the top of the wedge in half and sew (the top is the longer side).


Above: I like to chain piece them, actually I chain piece all the time! It saves thread and time. Chain piecing is just a continuous running of the fabric through the machine without cutting the threads.

Above: Chain piecing. They look like tiny little flags. I then snip them apart.

Above: The one on the left has been ironed (process a) and the one on the right has been inverted and ironed (process b).

 Above: Now, after you have finished both process a and process b, it's time to join them. I started in groups of two, then after all of those were finished, I made them into groups of four and then added the fifth wedge. Now I just have to sew one group together and the other group together. Finally I sew the two groups together to make the plate!!

Above: Here she is almost finished. I am making her for a craft fair that my sis and her sweet friend will have a booth at. I am a partner, but unfortunately I am not going to be attending :( 

 Above: Look what finally arrived. My cute little Singer Featherweight, all the way from England! I finally saved up enough $$ to get her. It took me about a year of saving (not because she was so much $$ but because I was saving pennies! not really dollars, so it took about a year :)
It is very fun to sew on. I can't wait to start making my Jo Morton quilts on it or my Civil War reproduction quilts. I will be sharing all of those projects on my other blog Prims 'n Pins. That blog is sorely neglected. I am going to make a Fall resolution to start blogging on it at least once a week (?).

This weekend has been beautiful. A little cooler, maybe by 5 degrees, but I can tell Fall is in the air!!
Keep those fingers happy, go sew something,
Holly