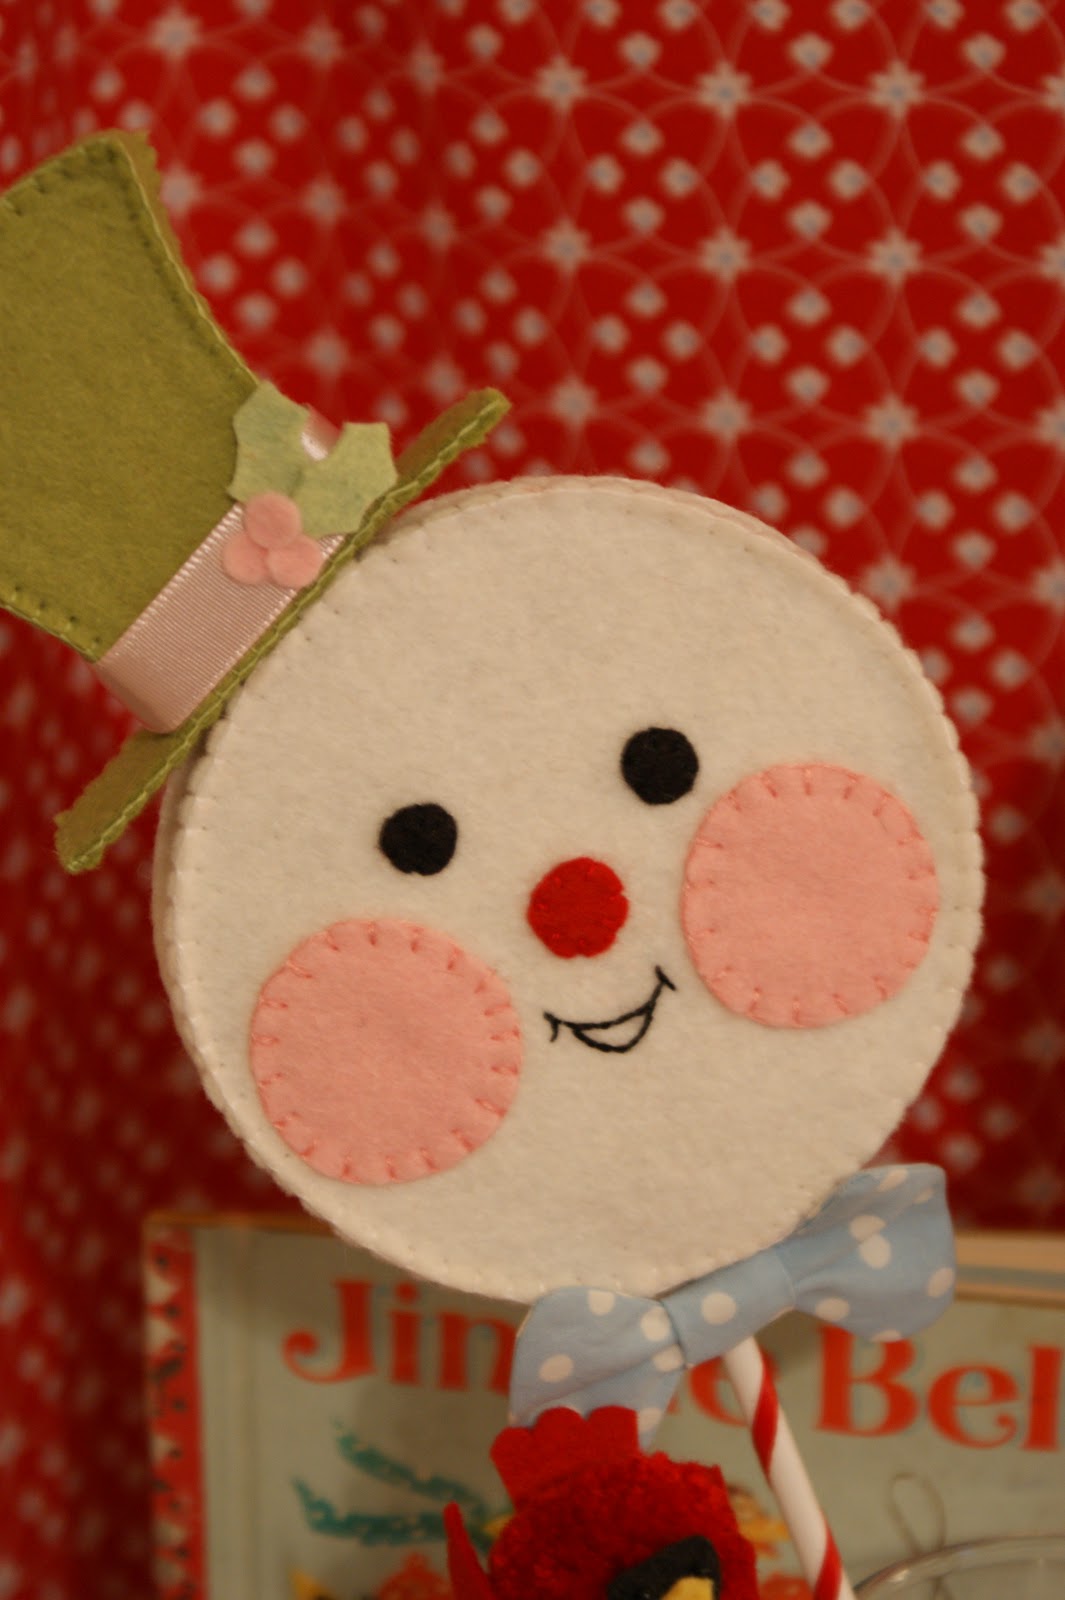
I love snowmen! I think that they are just adorable! We don't get much snow here in the Piedmont area of North Carolina, so I have to rely on snowy crafts to get my fill. I found the cutest snowman on Pinterest. When I clicked on it to follow the link it brought me to the cutest website. She had snapped the photo at a craft show which meant.....boo hoo, they weren't for sale. I knew that they were needle felted and I just happen to know how to needle felt. So I made one and it turned out to be the cutest little snowman. Really very simple. I wanted to do a tutorial on him, but I know that not everyone needle felts (hey to my sweet sis!). That got me thinking, what do I have that we can use that is pretty much common in every household. Styrofoam balls, fabric balls, ping pong balls, acorns, etc? What about cotton balls?

The little guy on the left is made out of two cotton balls and the one on the right is needle felted.


Inspiration photo, via pinterest: heathercameronstylest.

Pattern for hat and nose.

Supplies needed and of course paint brush and needle. Brown circle is a thin wooden disk. If you don't have one just cut out two smallish circles from a cereal box, glue together, let dry and then follow the steps below.

You will unroll one cotton ball.

Now reroll it. Try to keep this ball smaller than the body ball. You can use your fingers to brush/smooth the cotton ball. Gently rolling it in your hand helps, but don't do this too much or your ball will start looking lumpy. A tiny drop of glue may be used to keep the newly rolled ball from unraveling.

In this photo I have made one eyebrow and am in the process of adding a seed bead eye. Finish the other eyebrow and other eye and then make the mouth (look at photo for placement). Cotton material can be a little tough for the needle to push through, so make sure that you have a very sharp new needle. If this step intimidates you or you struggle with it, just use glue instead. Snip a tiny length of thread (1/8" or smaller) for the eyebrows and mouth. A needle can be a useful tool in helping you to manipulate the thread into place. Glue eyes on, using needle to place drops of glue on the cotton ball before adding the eyes. If the orange felt nose looks too squarish and not round enough to look like a carrot, gently roll that between your fingertips and glue in place.

I found that curling the hat around the end of a pencil helps the hat hold it's shape so that you are able to easily glue the sides together. After the glue had dried, coat the hat with mod podge and dip it into the fine glitter-shh...I don't know if this is proper etiquette but I just dip it right into the bottle, sometimes double dipping.

Looks like a marshmallow with a face!
Paint the wooden disk then apply mod podge and glitter. Now assemble the snowman in these steps:
1. Glue body onto disk.
2. Glue head onto body.
3. Glue hat onto head.
The cotton ball snowman is kind of fragile. He doesn't like being messed with a lot, because he is just a cotton ball after all. Very carefully tie his "scrap of ribbon" scarf on or you could aways glue a bow on-cute! After this step you can add some cheeks. Makeup blush applied with a cotton swab is all he needs or just leave him plain.
Even though the cotton balls are way more fragile than the needle felted balls, I still love this Little Cotton ball Snowman!

BFF!

What different personalities each one has even though they were made practically the same way :)

On the Frosty shelf. Tutorial for the Glittery Paper Icicles on yesterday's post.
Have a wonderful, keep those fingers busy kind of day!
Holly
*ps. be sure to go and check out ImagiMeri's blog to see the awesome vintage ornament wreath she is giving away! I love those wreaths.