
I can't believe that July is almost over! Like most of the US, we are hot here. Thunderstorms just about every afternoon does cool things down a bit. Right now I have Fall on the brain. A while ago I pinned this cute vintage postcard. What personality that little dog has! I really wanted to make him into something. Maybe an embroidery? Or how about a little stuffed animal? But the bats and moon are just so fun that I just couldn't make him alone. I decided to make a mini quilt and turn it into a pillow. Don't let the word quilt scare you. The moon, bats and puppy are appliqued on, so it's easy peasy! And with my pattern you could easily make it an embroidery project. Just cut the pattern pieces out, assembly it with glue and then make a photo copy. This will be your embroidery template. You can now trace it onto fabric using a light box. Before I purchased my light box, I use to use a clear Rubbermaid box with a lamp underneath. It worked like a charm, just be careful and don't get burned.

Supplies needed:
Felt
Orange fabric- 10" square
Black fabric #1- 15" square
Batting 15" square
Plaid homespun-fat quarter
Scraps of black and white gingham and orange fabric for pinwheels
4 black buttons
Osnaburg- cut two- 20" square pieces for the pillow
Black fabric- cut two- 10" x 34" pieces
Misc: needle, matching threads, scrap of gingham ribbon, eyes, freezer paper, tacky glue
**Pattern links are at the bottom of the post.
Cut out all pattern pieces. Trace all bat patterns and all puppy patterns onto a small section of freezer paper (on dull side). Do not cut out pieces until you have ironed them onto the black felt. I like to use this freezer paper method to cut felt out. Since the paper gives you a more stable background the tiny details are easier to cut out. The freezer paper is not permanent and will easily peel off. You could also use fusible web. Big plus, fusible web would eliminate the need to stitch the felt pieces on. Cut out all felt pieces. This includes: moon, green area behind moon, bats, house and all puppy pieces. Set them aside.
Make the pillow, set aside.
Quilt
Make 4 pinwheels. I like Lori Holt's method found here. Her method uses 4" squares, for these pinwheels use 3" squares.
Using the homespun fabric, cut 4 strips 2 1/2" x 10". Stitch one strip to the top and one strip to the bottom. Iron.
Now you will need to add the pinwheels to the side strips. This is where accuracy comes in handy. Add one pinwheel to the top of one of the side strips and then to the bottom of the same strip. Do the this for the other strip too. Now stitch the strips to the sides of the orange fabric being careful to line everything up.
Pin the batting to the wrong side of the orange fabric. I quilted using a stippling pattern. I stitched in the ditch for the pinwheels.
Trim the batting.
Now, with right sides together sew the 15" black square to the orange fabric, leaving a 3" gap for turning. After stitching all the way around, carefully trim excess fabric and clip the corner points off. Turn. Iron. Slip stitch opening closed.
Now it is time to add the felt appliques. I used a buttonhole stitch for the moon and green background. I "stay stitched" the bats and puppy on. Gluing his nose and tongue on are much easier than stitching. After everything is stitched down, glue his bow on.

Inspiration card!

To add the side pieces, fold 10" x 34" strips in half and stitch. Turn right side out and iron.

Raw edges are hidden under the mini quilt. You could applique something on this side as well. Maybe a pumpkin? Or full moon? How about a scaredy cat?
After you have added the side panels, stitch the mini quilt on using a slip stitch.

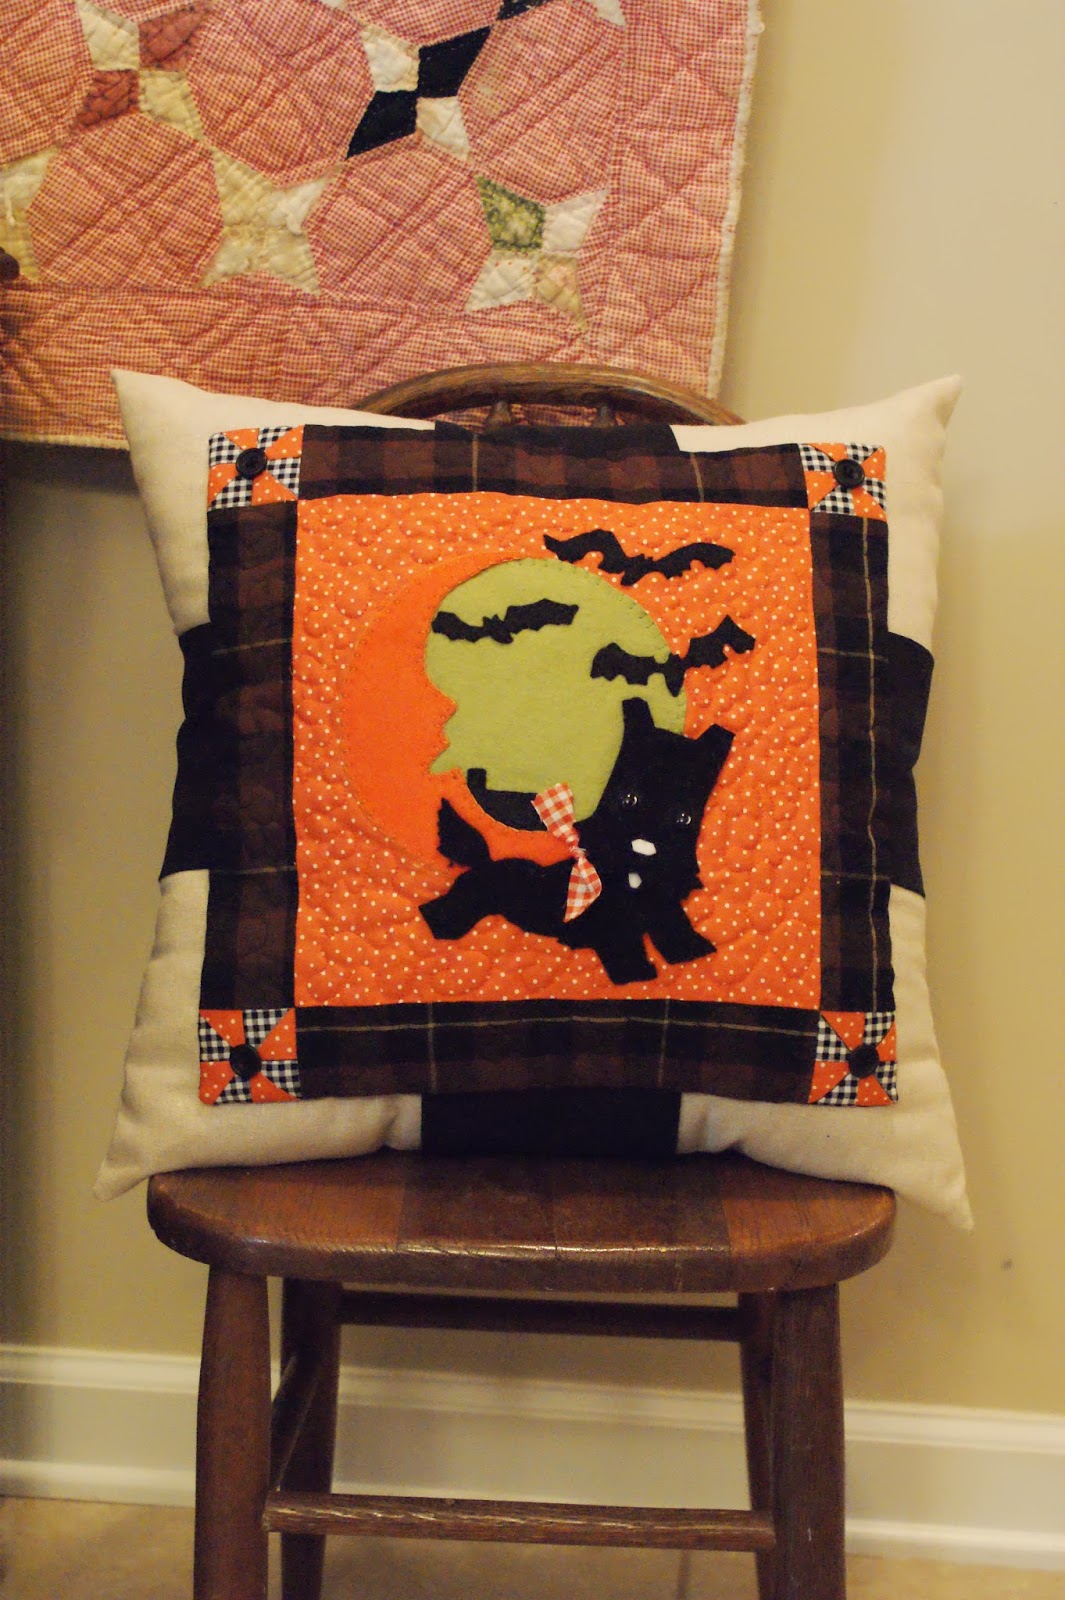

Hope that you have a boo-tiful weekend!
Holly


