

Charm pack from Etsy and kona solid from Hobby Lobby.

Supplies needed to make the placemats and napkins:
1 charm pack (you will need 24- 5" charm squares)
cotton batting
jumbo ric rac (Hobby Lobby)
2 yds of a solid to match your charms (for sashing, binding and back)
good quality white thread (such as Aurifil)

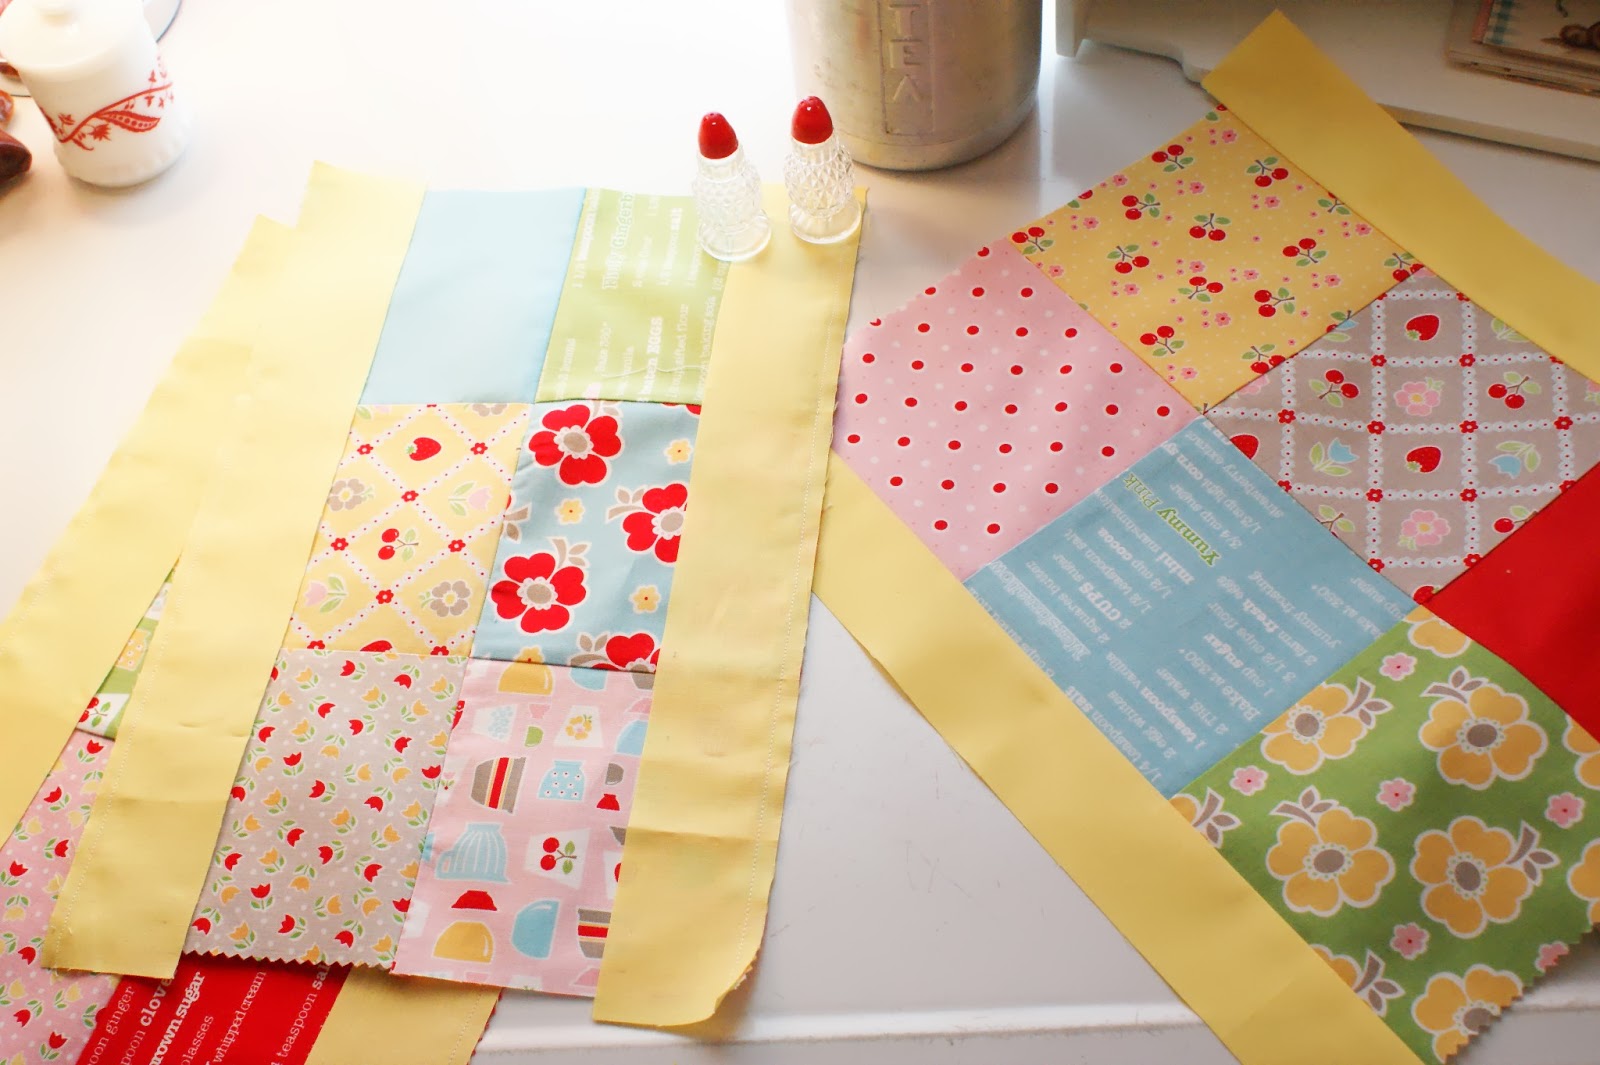
Arrange you charms. Two rows, 3 on top and 3 on bottom. I like to chain piece whenever I sew. This means that after you sew something don't cut the thread, but continue sewing. To start, sew 1 and 2 and then 4 and 5. Now, cut 1 and 2 away from 4 and 5 (leaving 4 and 5 under the needle) , sew 3 to 2. Cut 4 and 5 away from 1 2 3 and sew 6 to 5.

Chain piecing.

Iron the seams in opposite direction. Such as, top row iron to the right and the bottom row to the left. This will cause the seams to "lock" when you sew the rows together. Sew the rows together.

Rows all sewn together. 4 place mats in the works.
Cut 8 strips from the solid color for the top and bottom: 2" x 15".
Cut 8 strips from the solid color for the right and left sides: 2" x 13 1/2".
Sew the strips to the top and bottom of each placemat.

Trim the strips and then sew the sides on. Trim the sides.

Now it is time to make the quilt sandwich. Cut the backing about 2" larger than the top and the batting about 1" larger than the top. Layer: backing, batting and then top. Pin the layers together. Now you are ready to quilt the layers either by hand or with your sewing machine. If you have never used your machine to quilt before, this is a great project to start with. You can either stitch in the ditch (stitch straight lines along the seams-this is great for beginners) or stipple. Stippling involves a special foot used for quilting and you will need to lower your feed dogs. Straight stitching doesn't require anything special. The seams are your guide. A walking foot makes things go much faster but if you don't have one, make sure that you sew the layers together very, very slowly. Going slow will keep the layers from bunching up and making a mess on the back of your placemats.

I like to use gloves when I stipple because I can get a better hold on the fabric and I feel like I have better control over the fabric layers. Remember to remove the pins as you go. There are wonderful tutorials on machine quilting on Youtube.

When you finish quilting, trim off the excess batting and back fabric. Add some jumbo ric rac and then add the binding. I use a 2 1/2" binding, iron in half, stitch it on the front, fold it over and tack it down on the back. There are a lot of wonderful tutorials out there on how to put binding on quilts, I used the same method on my placemats. Pinterest is a good place to look.
Finished! With the left over solid kona, I made some napkins. I also crocheted a cherry napkin ring, it just ties onto the napkin.

Option 2: a built-in napkin holder. You will need to sew a strip of material onto the placemat to make the holder. Take four 2" x 6 " strips, sew them down the middle, iron seam open, turn them right side out, tuck the ends inside, iron again, stitch down each long side , stitch left side onto placemat, put napkin down to measure. Now stitch other side onto the placemat.


Orange ric rac.

White ric rac.


Cherry napkin ring.
If you would like a tutorial for this napkin ring, just leave me a comment and let me know.


I used my serger to make a rolled hem on the napkin. I love this method and will be making many more napkins. They were so easy to whip out. If you would like to make some, just look in your serger's instruction booklet for the rolled hem stitch. Wouldn't vintage sheets make the cutest napkins?
Hope that you enjoyed this placemat tutorial! And go get you an $8 charm pack and make some adorable placemats. I plan on making some pot holders and a dish drainer mat to match. I will also be showing pictures of my flowers and garden (for you mom!) and how to stamp words onto vintage silver plated silverware in the coming weeks. If you have any questions about the placemats, please don't hesitate to ask!
Have a wonderful crafty week!!
Holly
Oh Holly - you are amazing! These are soooo cute! I think this is one more project I would like to try this summer! You are soooo creative! Thank you so much for the tutorial.
ReplyDeleteEverything's cuter with Rick Rack! Nice color mixes that will go with any dishes!
ReplyDeleteSo cute!! Thanks for sharing!! I have a serger, but have rarely used it, and it's my goal this summer to learn!! Napkins would be the perfect start!! Have a lovely and crafty week! xo Heather
ReplyDeleteSO very cute Holly!! Love your pretty new place mats!! Thanks for sharing how you made them! I'm not sure if my machine has a serger or not, I've never used one before, would love to give it a try! :) So lovely! Have a sweet week! xo Holly
ReplyDeleteLove it! You are so creative!
ReplyDeleteHolly just found your blog and you are super talented! I am looking forward to exploring more.
ReplyDeletethanks for the inspiration.
m