
Supplies:
Scissors
fabric square about 9"
2" piece of felt
stuffing
large eye needle
dental floss
sand (optional)

Above: don't ya just love the tiny acorn. He is not functional but adorable. The cap is a real acorn cap and he is made out of clay.

Above: Cut out an 8 1/4" diameter circle. I used a compass to draw a circle.

Above: 4 1/8" on compass. Click on photo to zoom in.
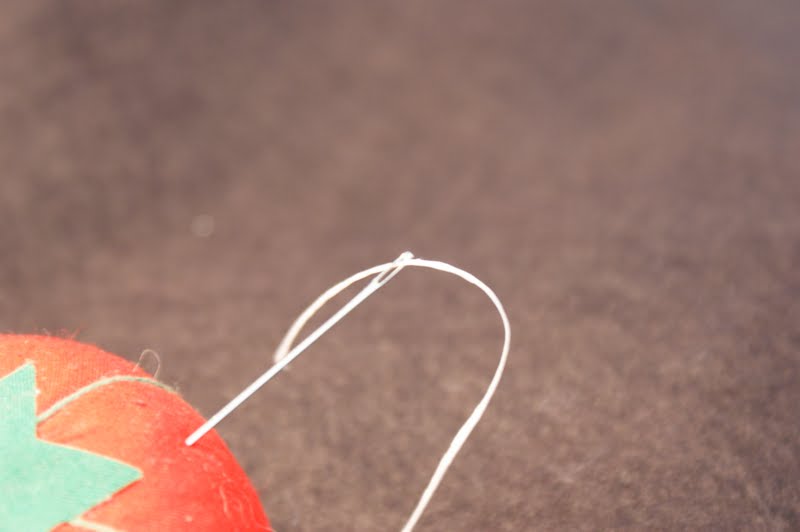
Above: I like to use a large head needle. I also use wax dental floss instead of cotton thread. The dental floss is very strong and will not break like the thread will.

Above: Make a running stitch all the way around the circle. Take 1/8" stitches. This will help to bring the fabric together tighter.

Above: Make sure to start the beginning stitch and ending stitch on the right side of the fabric. Click on picture for a closer look.

Above: I like to add a little sand bag to the bottom of the pincushion before I start stuffing. This sand bag is not necessary, I just add it for weight. You could also use crushed walnut shells (bird section of pet store), sand (found in florist section of discount stores), *beans, *rice (*the food type could attract bugs) or emery. I like to use a little sand bag because I have found that when sand is used it tends to sometimes work itself out and make a small mess. The sand bags can be small, maybe 2" or 3" in diameter.

Above: Lightly cinch the circle closed as above. This will help keep stuffing in as you stuff the pincushion.

Above: I use a combination of wool and fiberfill stuffing. I like wool because it packs tightly and looks smoother than fiberfill, but is a little more expensive so that is why I combine it. Also the lanolin keeps pins and needles from rusting.

Above: Try to cinch the pincushion has tight as you can. This hole is probably 1"-1 1/2" wide.

Above: I use my cuttlebug to cut felt out. I love using the cuttlebug this way. It cuts the felt out very clean with sharp crisp edges. One tip that I have found is make sure the felt you are using is wool. The cheaper felt that you get from the large discount stores just doesn't work as well. It will work but you have to trim the shape out because the cut is not as clean.

Above: The shape comes right out. Very clean and crisp edges. At this point you may want to think about your embellishments. Use your crafty imagination. You can glue buttons, game pieces, charms, vintage clipon earings, yoyos (fabric ones), fabric flowers, etc. This is your creation-go wild! If you don't like using glue, just find things that you can sew on. Just remember if you want your pincushion to be functional try not to go too wild with the hard embellisments, you don't want to jab a pin or needle into the pincushion and have it break because a button or charm got in the way.
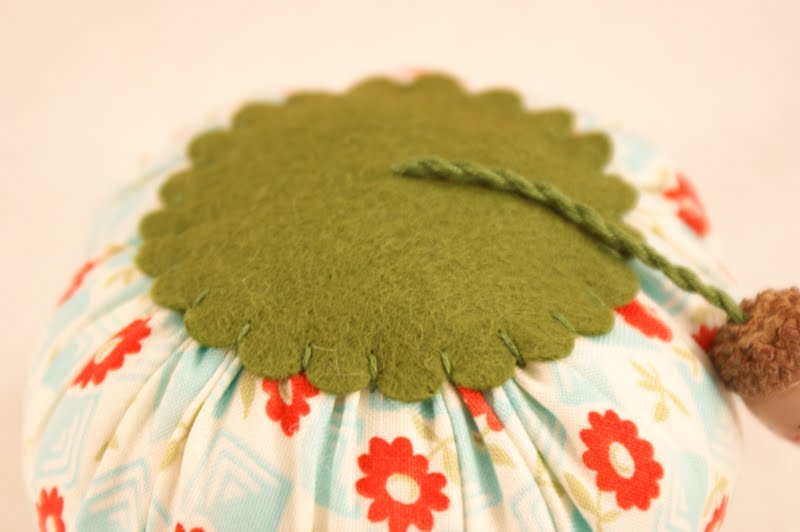
Above: I put the acorn on the felt top first before I put the felt on the pincushion.

Above: Little acorny, not functional at all, but super cute. Wouldn't it be fun to do a fallish pincushion with a couple of these cutie acorns.
Hope that this tutorial is clear enough. If not just send me a comment and I will try to answer your question.
Sew....go ahead and try your hand at this fun and easy project. Remember no sewing machine required!!
Have a wonderful and crafty day,
Holly
No comments:
Post a Comment
Thank you so much for your sweet comments. I treasure each and every one in my heart. I love reading them. Time often prevents me from responding to each comment but rest assured they are very precious to me.